Short version: the one-handed sword is Echoes of Aincrad's all-rounder — moderate Stamina cost, shield-compatible, and a forgiving learning curve. Pair it with Vitality and Endurance for a sustain-focused build, or lean into Strength for more damage once you're comfortable. Full stats and confirmed skills are in the weapons database; this page is the build and matchup layer on top.
Build method. Weapon identity and named skills come from the official Weapon Overview. Stat direction, matchups and EX-Mod priorities are qualitative recommendations derived from the sword’s balance, shield use and demo footage; they are not numerical scaling claims.
Why this is the safe first pick
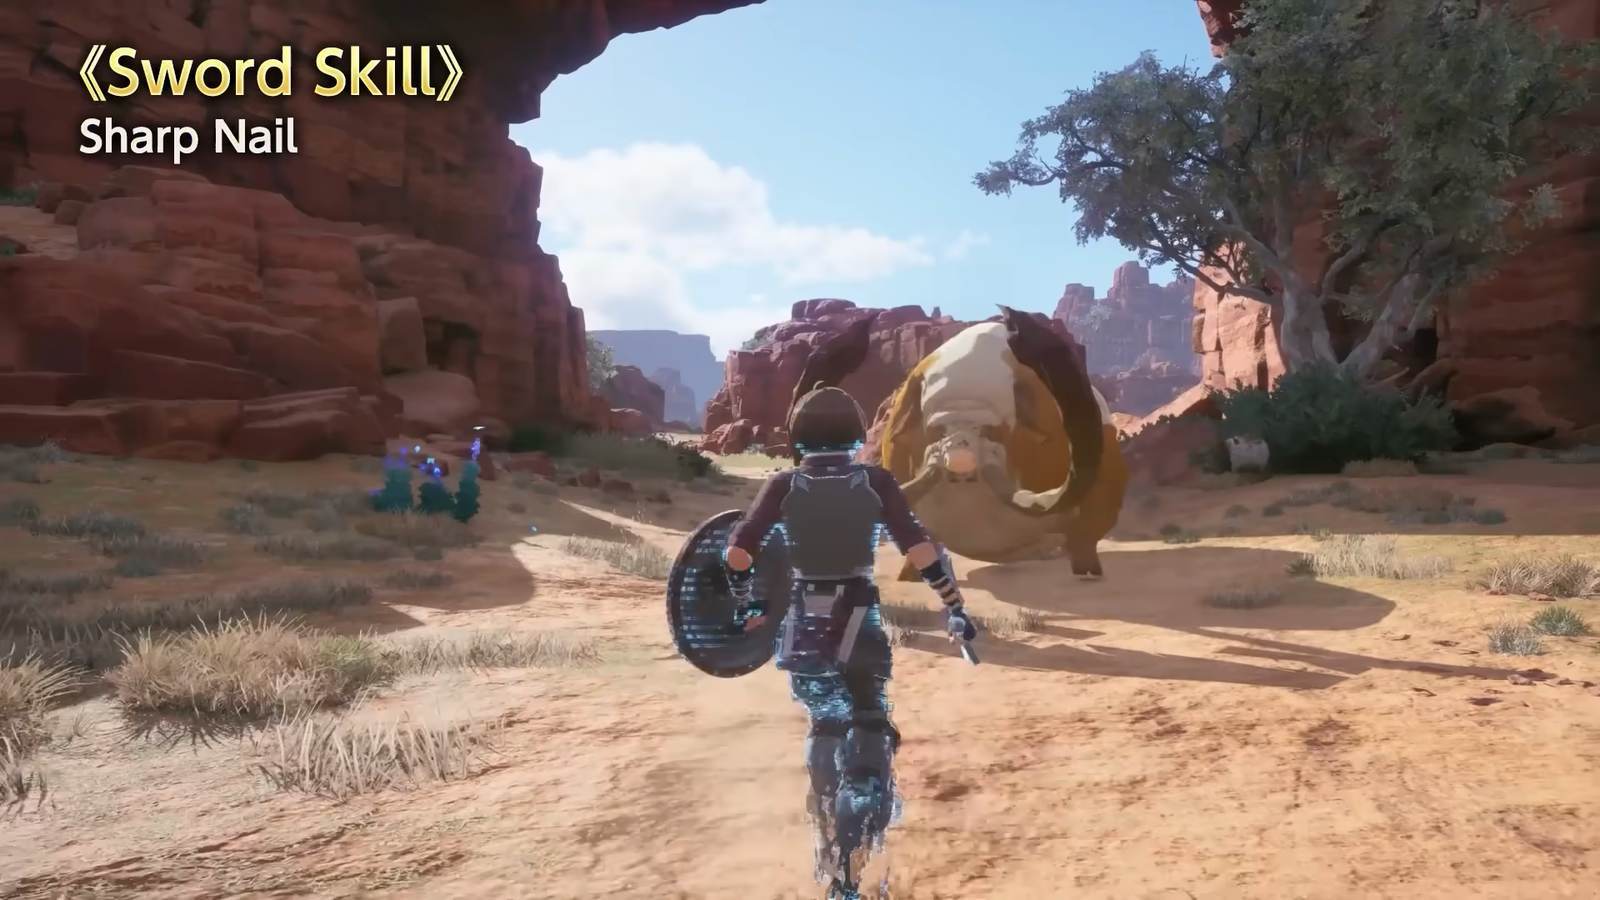
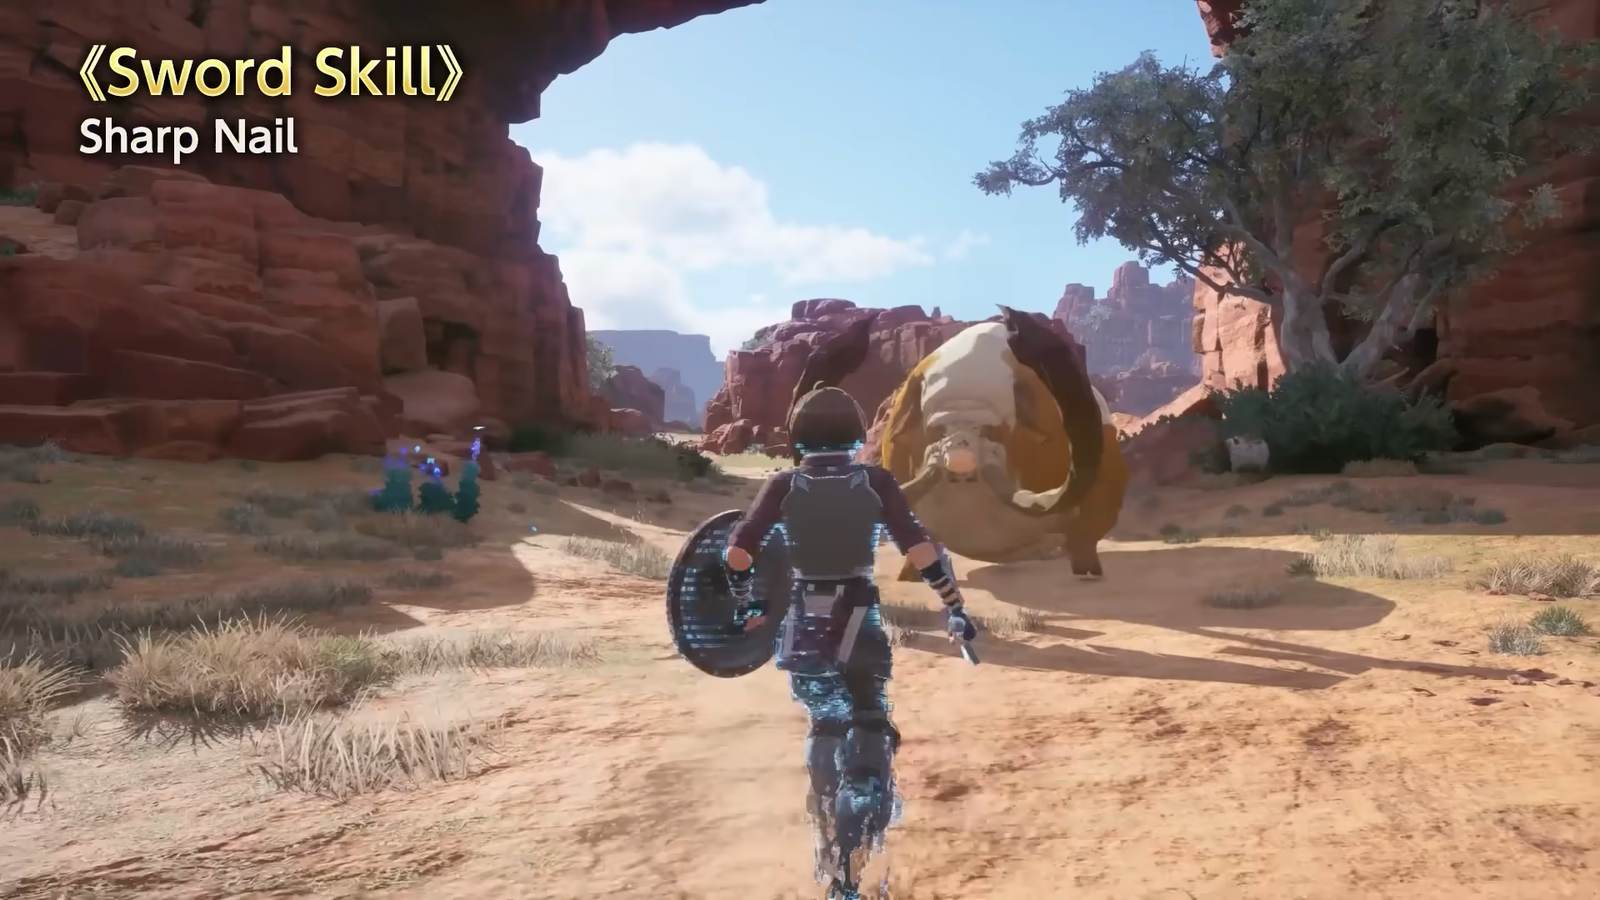
The one-handed sword's whole appeal is that it doesn't ask you to commit to a playstyle before you understand the game. Its Stamina cost is moderate with quick recovery, so you're rarely stuck empty-handed after a string of attacks. Its shield option gives you a genuine defensive layer without giving up much offense. And its confirmed skills — Sharp Nail, Rage Spike, Horizontal Quad Slash — cover a fast opener, a burst option and a multi-hit finisher, which means you're never missing an obvious tool. It's not the highest ceiling in the roster, but it's the weapon least likely to punish you for still learning the combat system.
Stat pairing
The sword's balance does not demand one narrow damage identity. Strength is the impact-oriented recommendation used by this build, while Vitality and Endurance reinforce what the sword already does well: survive and keep swinging. This is qualitative role guidance rather than a hidden-scaling claim. The resulting build forgives a missed dodge or late parry while you learn enemy reads, which is why it is the first-time recommendation over flashier weapons. See the stats guide for the full evidence boundary.
Why “balanced” is a real combat strength
It's tempting to read "balanced" as a euphemism for "unremarkable," but that undersells what the sword actually buys you: optionality. Every other weapon in the roster locks you into a trade-off — the axe gives up mobility for stagger, the dagger gives up reach for speed, the two-handed sword gives up recovery for raw arcs. The sword is the one weapon that doesn't force a choice, which matters most in exactly the moments you can't predict what a fight demands: an unfamiliar field elite, a boss's unrevealed second phase, a mechanic the trailers didn't show. A specialized weapon can be the wrong tool for a fight it wasn't built for; the sword is rarely the wrong tool for anything, which is worth more across a long, varied campaign than being the best tool for one specific job. That's especially true early on, when you haven't yet learned which fights genuinely call for a specialist.
Matchup against the demo's bosses
Here's how the sword actually plays against each of the demo's three named fights:
- Sentry Golem: comfortable. The Golem's poor tracking lets you circle to its back, and the sword's balanced Stamina economy means you can afford to reposition and punish without running dry. A shield also lets you no-sell the ground sweep instead of committing to a dodge.
- Illfang the Kobold Lord: solid but not spectacular. Illfang rewards fast, single-skill punishes over long combos, and Horizontal Quad Slash is a strong finisher option once he's staggered — just don't get greedy across his three phases.
- Raging Boar (field elite): the shield is the story here. A charging enemy that can catch you mid-repositioning is exactly what a shield buys you insurance against, even if you're mainly dodging its charges.
EX-Mod priorities
Because the sword is already Stamina-efficient, the highest-value EX-Mods to fuse onto it are ones that widen its already-comfortable margins further: reduced Stamina cost turns "comfortable" into "nearly free," letting you guard and reposition even more liberally. A secondary priority is attack-boost effects, since the sword's damage is solid but not spectacular on its own — a couple of small boosts close that gap without sacrificing its efficiency. Because the sword is likely to be your longest-used weapon type if you main it, it's also a strong candidate to bank spare copies of for fusion fodder.
Partner pairing
The sword's flexibility means it works with almost any partner, but it shines brightest with an offensive partner. Because the sword-and-shield build is already durable, you don't need your partner covering your survivability — you need them adding the damage your balanced-but-unspectacular weapon doesn't supply on its own. This is the "amplification" pairing: your durability buys time, your partner's damage closes the fight.
Partners that fit this approach: Zash (Two-handed Sword) and Agil (Two-handed Axe) match an offensive pressure plan, while Asuna (Rapier) fits a more precise duo. These are weapon-role pairings, not a partner tier list or a claim about undocumented skill values.
Starter Sword Skill loadout
A balanced three-skill loadout for a first run: Sharp Nail as your cheap opener to start pressure safely, Horizontal Quad Slash as your primary finisher for stagger windows and phase transitions, and Rage Spike as your answer when you need a fast burst without the multi-hit's longer commitment. This trio covers opening, finishing and emergency burst without leaving an obvious gap — a good default until you've felt out the full skill roster yourself and have a clearer read on what your fights actually demand.
How the sword compares to its closest alternatives
If the sword's balance still leaves you wanting a stronger identity, the two nearest alternatives pull in opposite directions. The mace keeps the shield and forgiving learning curve but trades some speed for an anti-armor role — a natural next step if your demo runs favor survivability. The rapier also keeps a defensive option but asks for more precise spacing in exchange for reach and chained pressure. Trying both alongside the sword in the demo is the cheapest way to learn which rhythm suits you before investing deeply in retail progression.
Common mistakes
- Never using the shield. Skipping the defensive layer just to swing faster throws away the sword's biggest edge over the two-handers and dagger.
- Treating it as a do-everything weapon. Balanced doesn't mean best-in-class anywhere — if you want maximum stagger or maximum speed, a more specialized weapon does that job better.
- Under-investing in Endurance. The sword's forgiving Stamina cost is wasted on a build that hasn't backed it with enough pool to actually use the room it gives you.
- Ignoring EX-Mods because the base weapon already feels fine. "Comfortable" isn't "optimal" — a couple of well-chosen fusion effects turn a solid weapon into a genuinely efficient one.
Where this build goes long-term
A sword-and-shield build's biggest question isn't whether it survives the demo — it clearly does — but whether it stays interesting across a much longer full game. The honest answer is that it depends on how the endgame treats stat scaling and EX-Mod stacking: a balanced weapon has the least room to become extreme at anything, which is a ceiling worth being aware of if you're the kind of player who chases the highest possible number. But for a first playthrough, and for any player who values consistency over spikes, the sword's floor is high enough that this rarely becomes a real problem before you've had dozens of hours to decide whether to specialize into something sharper. If you do want to branch out later, the sword's balanced Stamina profile makes it an easy weapon to fall back to while you're gearing a second, more specialized main.
FAQ
Is the one-handed sword good in Echoes of Aincrad?
What stats work best with the one-handed sword?
Should you use a shield with the one-handed sword?
Where to go next
See the full stat block in the weapons database, plan your attributes in the stats guide, and test the build against the Sentry Golem first, and compare it directly to the mace if you want more stagger power without losing the shield.
Sources
Gameplay frames captured from the official Weapon Overview and demo; player-captured footage credited in each caption.