Short version: your avatar has seven attributes in two groups. Four damage stats — Strength, Dexterity, Agility, Intelligence — raise how hard you hit. Three support stats shape your survivability and resources: Vitality raises HP, Endurance raises Stamina, and Mind raises SP-ability effectiveness. You raise all of them with Growth Points at the Inn. This page is the deep dive on what each does; for build templates and avatar creation, see the character creation guide.
Evidence basis. The seven attribute names and their broad roles come from the official Starter Guide. Weapon pairings below are qualitative playstyle guidance and do not claim undocumented damage-per-point or weapon-scaling coefficients.
Two groups, one build
The smartest way to read the attribute screen is as a split between offense you can shape and a foundation you can't skip. The four damage stats decide the flavor and force of your attacks; the three support stats decide whether you live long enough and have the resources to use them. A strong build almost always mixes both — pure damage with no Vitality or Endurance folds to the first boss that punishes a mistake, and pure survivability never kills anything. The question isn't "damage or support," it's "which one damage stat and which one or two support stats define this character."

The four damage attributes
Officially, "your stats can increase the amount of damage your weapon skills do, depending on the weapon and skill." That makes stat choice and weapon choice one decision rather than two. The pairings below translate each weapon's visible identity—impact, precision, speed or SP use—into a practical direction; they are recommendations, not a hidden-formula table.
- Strength — the impact-oriented recommendation. Mace, two-handed axe and two-handed sword visually trade finesse for heavy hits and Guard Break pressure, making them the clearest qualitative pairing.
- Dexterity — precision and finesse. The fit for light, technical weapons like the dagger and rapier, where fast, accurate strikes matter more than brute force. A Dexterity build is about landing many clean hits, not few huge ones.
- Agility — speed and evasion economy. Beyond damage, Agility is quality-of-life in a Stamina-gauge system: faster actions and better evasion mean more effective decisions per fight. It suits hit-and-run playstyles that live or die on repositioning.
- Intelligence — the skill-oriented damage recommendation. Pair it with Mind when building around well-timed Sword Skill windows rather than sustained normal attacks. This is a build archetype, not a weapon-by-weapon coefficient claim.
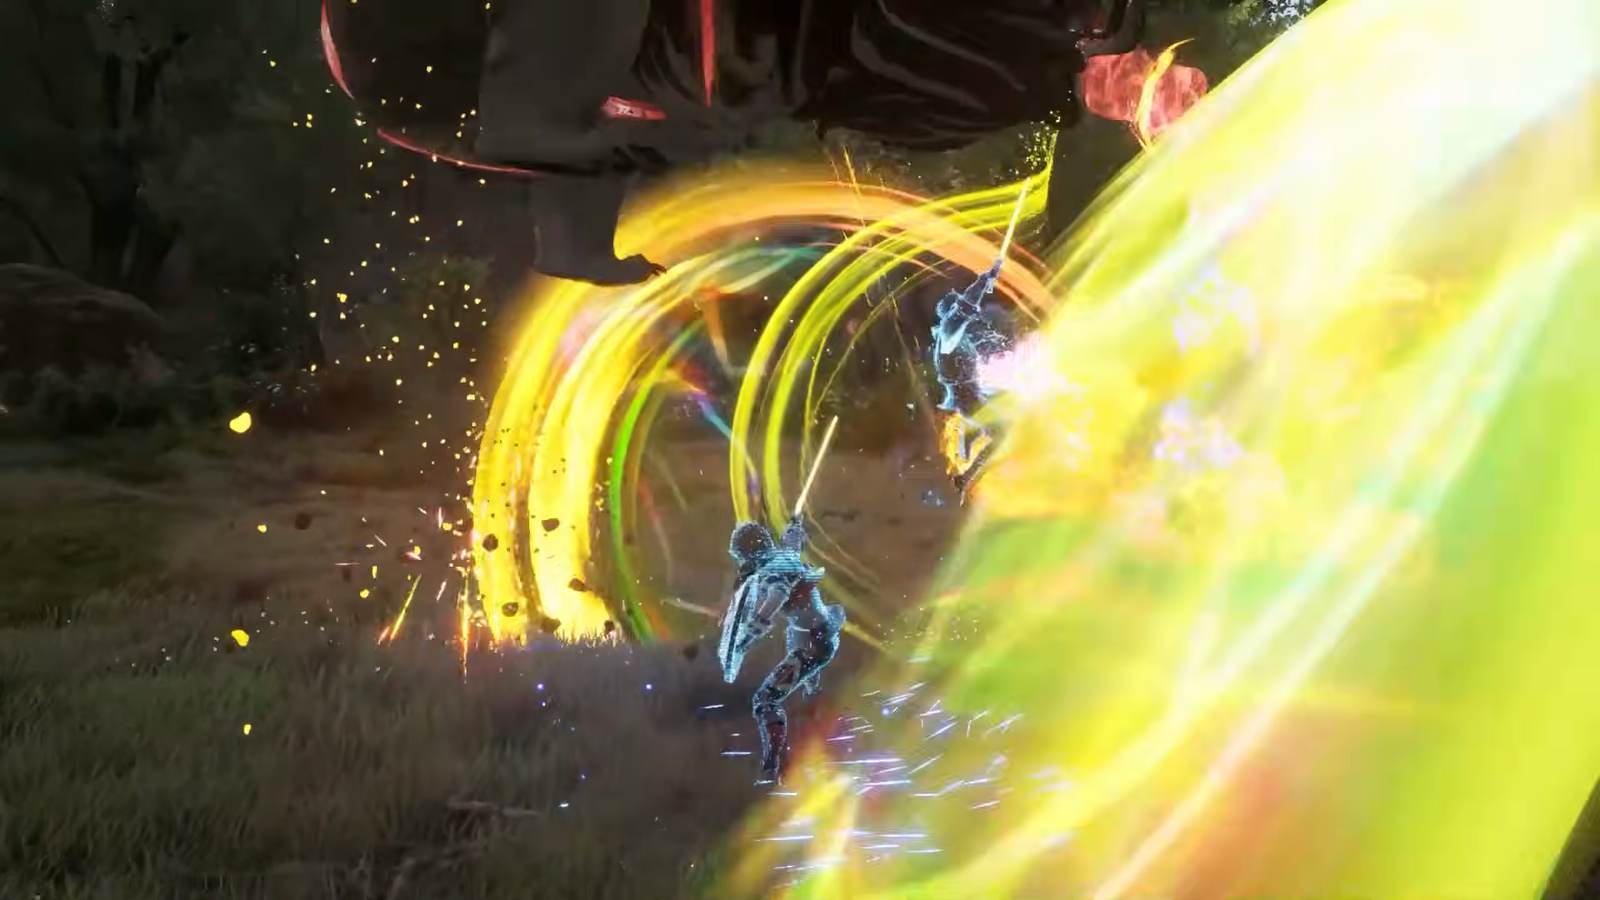
The three support attributes
These three are confirmed clearly, and they're the ones that quietly decide whether a build works. Unlike the damage stats, their effects aren't ambiguous:
- Vitality → HP. Your health pool, and your margin for error. Every point is a mistake you can survive. It's the safest stat to over-invest in for a first character, and the backbone of any Death Game Mode build, where a single death ends the run.
- Endurance → Stamina. Your Stamina pool — the budget that pays for attacks, dodges, guards and sprinting. More Endurance means more actions before you hit the reserve, which is especially load-bearing for heavy weapons that spend Stamina in big chunks. A committal two-hander on low Endurance feels starved; the same weapon with Endurance behind it feels sustainable.
- Mind → SP effectiveness. The multiplier on your Sword Skills. On a skill-focused build, Mind makes every skill you land hit for more — and because SP is earned by attacking, that compounds with aggressive play. It's the difference between "I use skills sometimes" and "skills are my damage."
How the stats map to a build
Put the two groups together and clear archetypes fall out. None of these is the "correct" build — they're starting points you can tune:
| Fantasy | Lead damage stat | Support stats | Weapon fit |
|---|---|---|---|
| Durable frontliner | Strength | Vitality + Endurance | Sword & shield, mace |
| Fast duelist | Dexterity / Agility | Endurance | Rapier, dagger |
| Skill-burst caster-melee | Intelligence | Mind + Vitality | Any skill-heavy weapon |
| Stagger-focused heavy | Strength | Endurance + Vitality | Two-handed axe |
The unifying principle: pick one damage identity and back it with the support stats it needs. A fast duelist needs Endurance so its constant dodging doesn't run dry; a skill-burst build needs Mind to make its big windows count and Vitality to survive setting them up; a heavy needs both Endurance and Vitality because it commits hard and can't reposition quickly.
Don't spread yourself thin
The biggest first-timer mistake is dabbing points into all seven attributes to "stay flexible." The game frames stats, weapon, equipment and partner as one synergy system, and a little of everything synergizes with nothing — you end up with a character that's mediocre at its damage and still fragile. Commit to a lead damage stat and one or two support stats, and let your weapon and partner choices reinforce that identity. The demo is the low-cost place to feel whether that direction fits, while any eligible progression you import deserves deliberate allocations.
Raising your stats
You spend Growth Points, earned by leveling up, while resting at the Inn. That ties stat growth to the core loop: defeat monsters, gain levels, bank points, then invest them in town. The Growth Points guide covers earning and budgeting. This page does not use a respec assumption to justify a build; choose allocations for the role you want them to perform now.
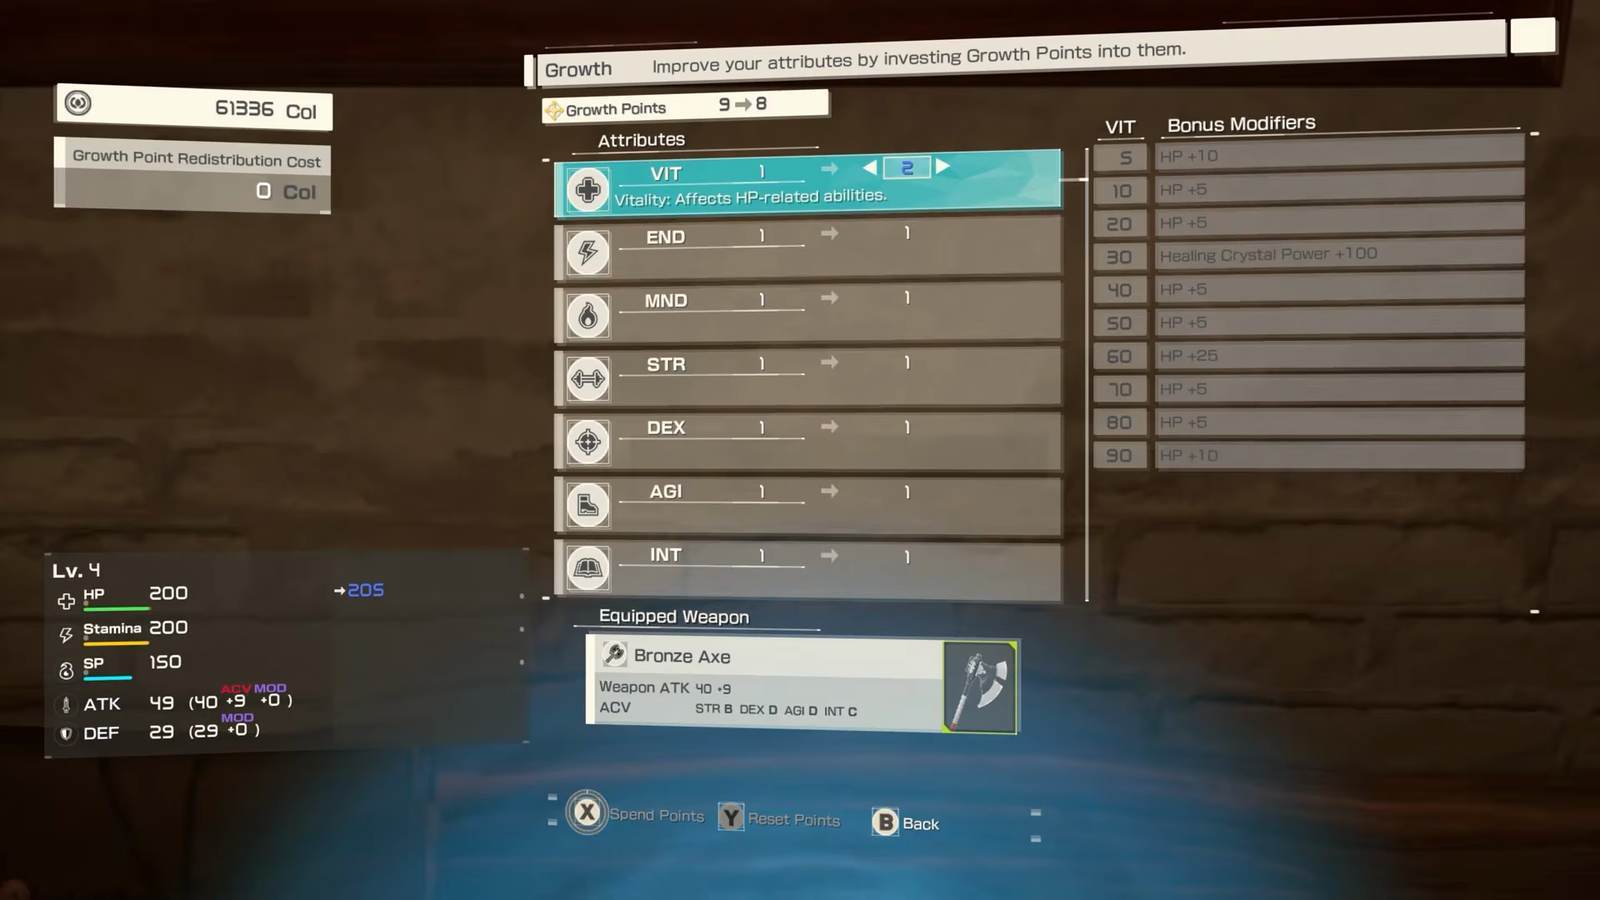
Build flexibility without a reset assumption
A strong first character needs both identity and a small reserve. Lead with one damage direction, support it with one or two survival stats, and avoid reflexively spending every Growth Point the instant it arrives. Banked points let you answer a visible problem—more Vitality for a boss that exceeds your health margin or more Endurance when Stamina repeatedly runs dry—without scattering the whole build.
Eligible demo progression can carry into retail, so the same discipline pays across the campaign: commit to an identity, feed it consistently and keep enough in reserve to react. This budgeting method stands on its own and does not require the guide to promise or deny a formal reset mechanic.
FAQ
What are the character stats in Echoes of Aincrad?
Which stat increases HP?
How do damage stats work?
How do you raise your stats?
Where to go next
Turn a stat spread into a full plan in the character creation guide, match it to a weapon in the weapon guide, and learn how to earn and spend your points in the Growth Points guide.
Sources
Gameplay frames captured from the Echoes of Aincrad demo and official Weapon Overview; player-captured footage credited in each caption.