The short version: stay behind it and punish its back with charged heavy attacks. The Sentry Golem is slow, its tracking is poor, and it only has two moves — roll through the overhead slam, parry the ground sweep and answer with Iori's charged thrust. Never stand in front of it, never get greedy, and it goes down without much drama.
Evidence basis. The route and attack reads below are cross-checked against the playable demo and multiple independent walkthroughs listed in Sources.
Where you meet it, and why it's here
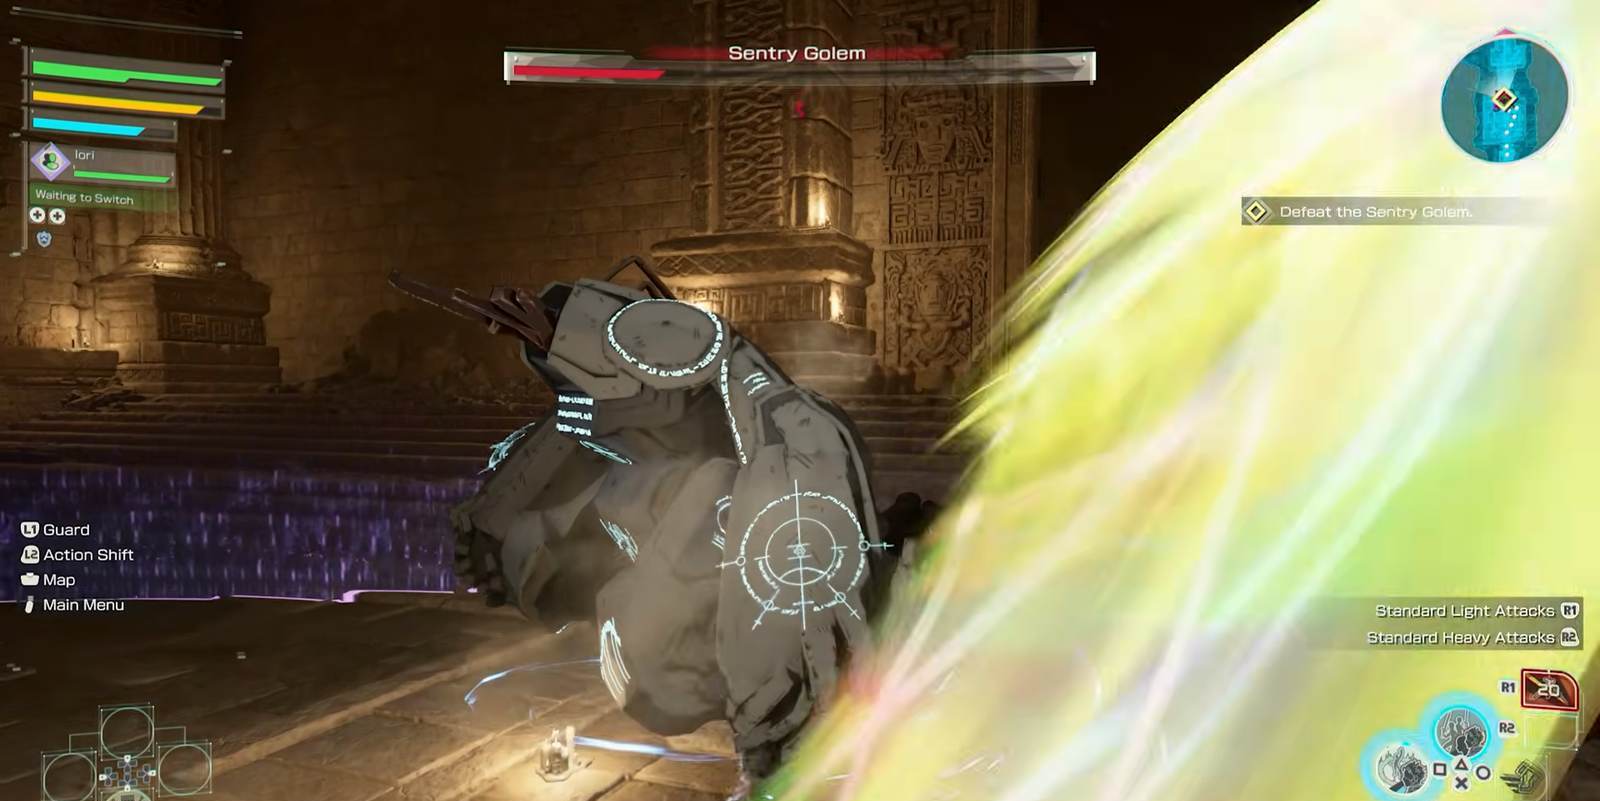
The Sentry Golem is the first boss of the demo, parked at the first resting point of the prologue dungeon — just after your partner Iori joins you. It's the warm-up act before Illfang the Kobold Lord, and it's built to teach, not to trick. Every fundamental the demo has been hinting at — spacing, dodging, parrying, punishing openings — the Golem quietly quizzes you on. Pass, and Illfang feels fair. Skip the lesson by out-damaging it, and the final boss will feel like a brick wall you didn't prepare for.
So it's worth beating this the "correct" way even if you could brute-force it. Treat the Golem as a practice dummy that hits back.
Before the fight: quick prep
Two small things stack the odds in your favor before you engage. First, top up healing items — there's no shop inside the arena, and while the Golem is beatable without them, the buffer covers the attempt where you misjudge a slam. Second, get comfortable with your charged heavy attack in the corridor first. The prologue dungeon's mob packs, on the way to Iori, are free practice for the exact wind-up-and-punish rhythm the Golem demands. If you've been mashing light attacks up to now, this is the moment to change habits. The demo walkthrough covers everything leading up to this point.
Its two attacks — and how to answer each
That's the good news: the Golem has only two moves you need to track, both slow, both heavily telegraphed, both leaving an opening. Learn these two and there's nothing else to read.
| Attack | What you see | Your answer |
|---|---|---|
| Overhead slam | It rears up and brings its weight down in a slow vertical smash | Roll through it — dodge, don't block. Blocking eats chip damage and stamina you don't need to spend. |
| Ground sweep | A wide, low horizontal swing around its front | Parry it, then follow with Iori's charged thrust. A clean parry is your cleanest opening of the fight. |
Notice there's no fast, unreactable move here — nothing that punishes a good defensive read. The Golem's entire threat is its weight: get greedy and stand in the wrong place, and one slow-but-heavy hit does a lot. Respect the telegraphs and the danger evaporates.
The core tactic: live behind it
Here's the trick that turns this into a free win: the Sentry Golem tracks poorly. Circle around to its back and stay there. From behind, its two attacks can't reach you cleanly, and you get uninterrupted time to wind up charged heavy attacks into its rear. Wind up, land the charged hit, reposition as it slowly turns, repeat.
This is the whole fight in one loop:
- Circle behind — put yourself at its back and keep moving with it.
- Charge a heavy attack — its slow turn buys you the wind-up time.
- Punish the back — land the charged hit where it can't retaliate.
- Reset — if it starts an overhead slam, roll; if it sweeps, parry into Iori. Then back to its rear.
One nuance that makes the loop reliable: time your charge to the Golem's recovery, not your own impatience. After it commits to a slam or a sweep, it's locked into a long recovery — that's your safest window to fully charge a heavy, because it physically can't answer yet. If it starts to turn toward you mid-charge, don't gamble the extra damage; release early or bail into a reposition. A slightly smaller guaranteed hit always beats a big one that trades into its weight. Greed is the only thing in this arena that actually threatens you.
Iori and the Switch
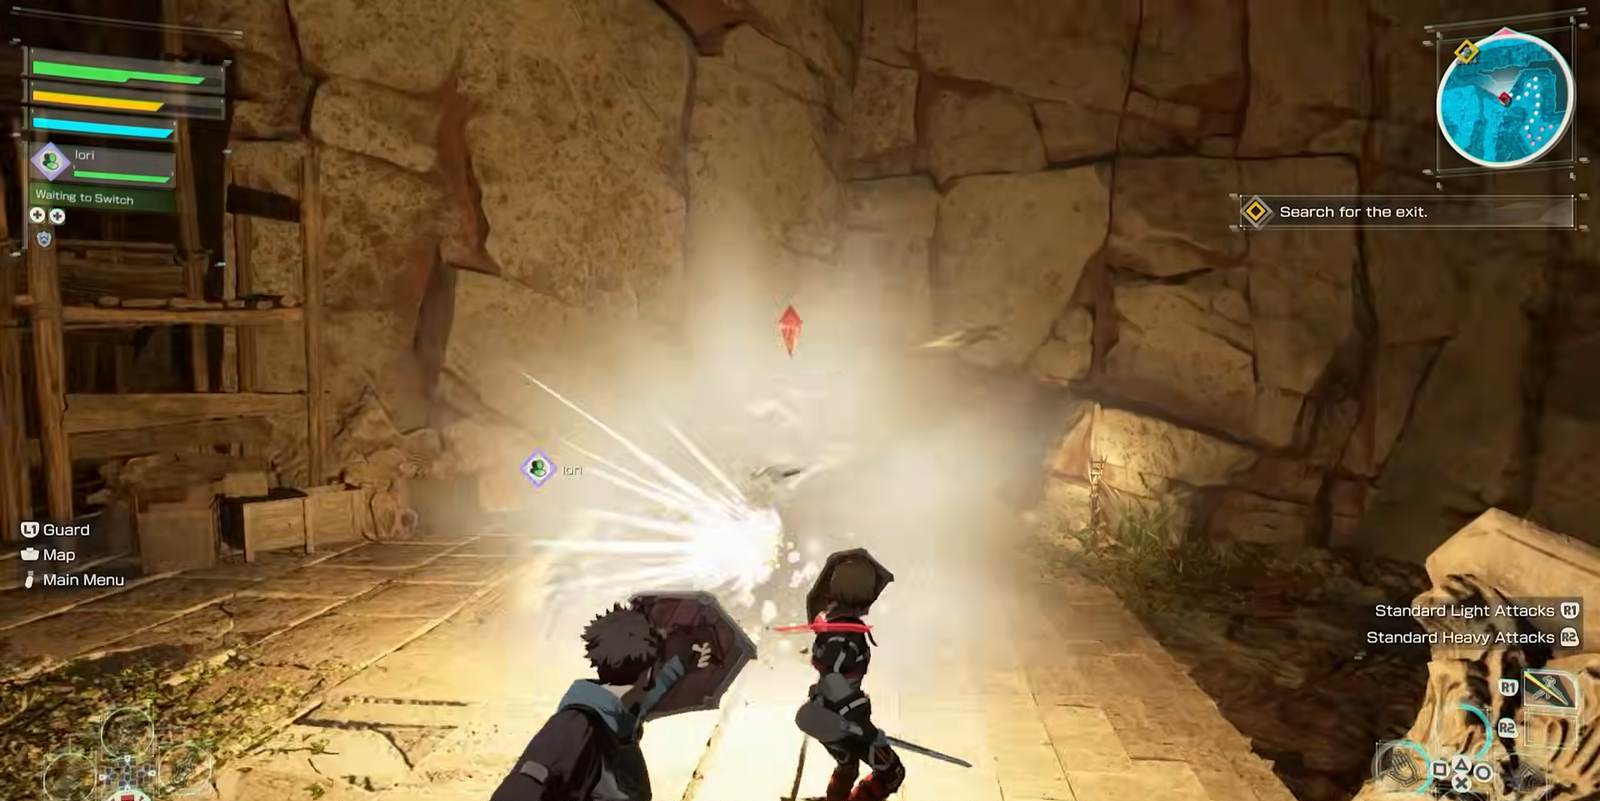
You're not soloing this. Iori — your permanent demo partner — is doing real work here, and she's central to the cleanest punish in the fight. When you parry the ground sweep, that's the cue to follow up with Iori's charged thrust, chaining your defensive read into her damage. Use the Switch to tag her in when your stamina is low or when you want her to hold the Golem's attention while you reposition to its back. A good Switch rhythm keeps you topped up on stamina, which matters more than it looks — running dry mid-fight is the one way a patient player still gets clipped.
Weapon considerations
Any of the six weapon types clears the Golem, but the fight rewards a couple of traits specifically:
- Charged heavy attacks matter here. Weapons with a strong charged heavy — the mace and the two-handers — turn "circle behind and punish" into big chunks of the Golem's bar. The mace's stagger identity is especially at home against a big armored target.
- Mobility helps you live behind it. Faster weapons (one-handed sword, rapier, dagger) make circling and repositioning effortless, at the cost of smaller punishes. Either approach works; play to your weapon's strength.
- Don't fish for parries you don't need. You only need to parry the ground sweep. The overhead slam is a dodge, full stop.

Common mistakes
- Fighting it from the front. Both its attacks are frontal. Staying in front is choosing to fight it on its terms — circle behind instead.
- Blocking the overhead slam. It's a heavy hit; blocking bleeds stamina and chip damage. Roll through it.
- Mashing instead of charging. Its slow turn is an invitation to wind up a big charged heavy. Trading light pokes wastes the opening.
- Ignoring stamina. Patience is only free if your gauge is full. Switch to Iori to recover instead of fighting on empty.
Why this fight matters
The Sentry Golem is the demo teaching you its grammar: dodge the unblockable-heavy, parry the sweep, punish from safety, lean on your partner. Every one of those verbs comes back — harder and faster — against Illfang the Kobold Lord, the demo's three-phase finale. The mapping is almost one-to-one:
| What the Golem teaches | How it pays off against Illfang |
|---|---|
| Dodge the overhead slam instead of blocking | Illfang's 360° ground sweep is another "create distance or dodge through it" move, not a block. |
| Parry the ground sweep for an opening | Parrying Illfang's combo finisher is the cleanest way to open him for a sword skill. |
| Punish only from safety (its back) | Illfang punishes greed hard — one whiffed combo into his counter can end a run. |
| Chain your parry into Iori's thrust | The same Switch rhythm covers you while Illfang's health-bar finisher windows open. |
| Watch your stamina, Switch to recover | Illfang is a long fight; running the gauge dry mid-phase gets you clipped. |
Beat the Golem by reading it, and you've done most of your Illfang prep without realising it. Want the whole run in order? See the full demo walkthrough.
FAQ
Where is the Sentry Golem in the Echoes of Aincrad demo?
What is the best way to beat the Sentry Golem?
Should I block or dodge the Sentry Golem's attacks?
Where to go next
Golem down? Prep the real test with the Illfang the Kobold Lord boss guide, tune your loadout in the weapon types guide, see where the Golem sits in the demo's full bestiary in the enemies database, or walk the whole demo start to finish in the demo walkthrough.
Sources
Fight mechanics cross-checked from the playable demo and independent walkthroughs. Gameplay frames captured from the Echoes of Aincrad demo via GameBurst's playthrough.