The demo in one breath: make your character, fight your way out of a collapsing prologue dungeon, pick up your partner Iori, beat the Sentry Golem and then Illfang the Kobold Lord, and get teleported to the Town of Beginnings — where the Inn, Smithy and Merchant turn a combat demo into an actual RPG. Everything you do carries over to the full game, so treat this as run one, not a throwaway.
Based on the demo build. This walkthrough covers the Steam Next Fest / launch demo and is cross-checked against the official demo guide and multiple player playthroughs (sources at the bottom). Layouts and numbers may shift for the July 10 release.
The route at a glance
If you only read one section, read this. The demo is refreshingly linear — you will not get lost.
- Character creation — build your avatar and pick a starting weapon.
- Prologue dungeon — rush to meet your team, survive the disaster, escape the maze alone.
- Meet Iori — your permanent demo partner joins at the first junction.
- Sentry Golem — the first boss, at the first resting point.
- Illfang the Kobold Lord — the three-phase final boss.
- Town of Beginnings — a cutscene teleports you to the hub; now the RPG opens up.
Step 1 — Character creation
Echoes of Aincrad lets you build your own trapped player rather than handing you Kirito — a first for the video-game series. Note that appearance customization is locked in the demo — it unlocks in the full game — so the choice that matters here is your starting weapon, which shapes your first hour. If you're undecided, a one-handed sword (with shield) is the gentlest on-ramp; our weapon types guide breaks down all six. You can retune stats later at the Inn, so don't agonise — the demo is forgiving about experimentation.
Step 2 — The prologue dungeon
The demo opens exactly the way the anime's premise does: you join a team pushing into an unexplored dungeon, rush deeper to meet them — and then, in the guide's own words, disaster strikes and you're escaping a monster-infested maze alone. Mechanically, this is your combat tutorial in disguise. Follow the waypoint markers, and use the corridor fodder to get comfortable with the fundamentals you'll live and die by:
- Light and heavy attacks (R1 / R2) that both spend stamina — you can't mash forever.
- Dodge and guard for creating space and punishing.
- Sword Skills — the flashy, high-damage moves. Use them after a real opening, not on cooldown.
The one habit to build now: attack in short bursts and let stamina recover between them. The bosses ahead punish the exact greed the maze lets you get away with.
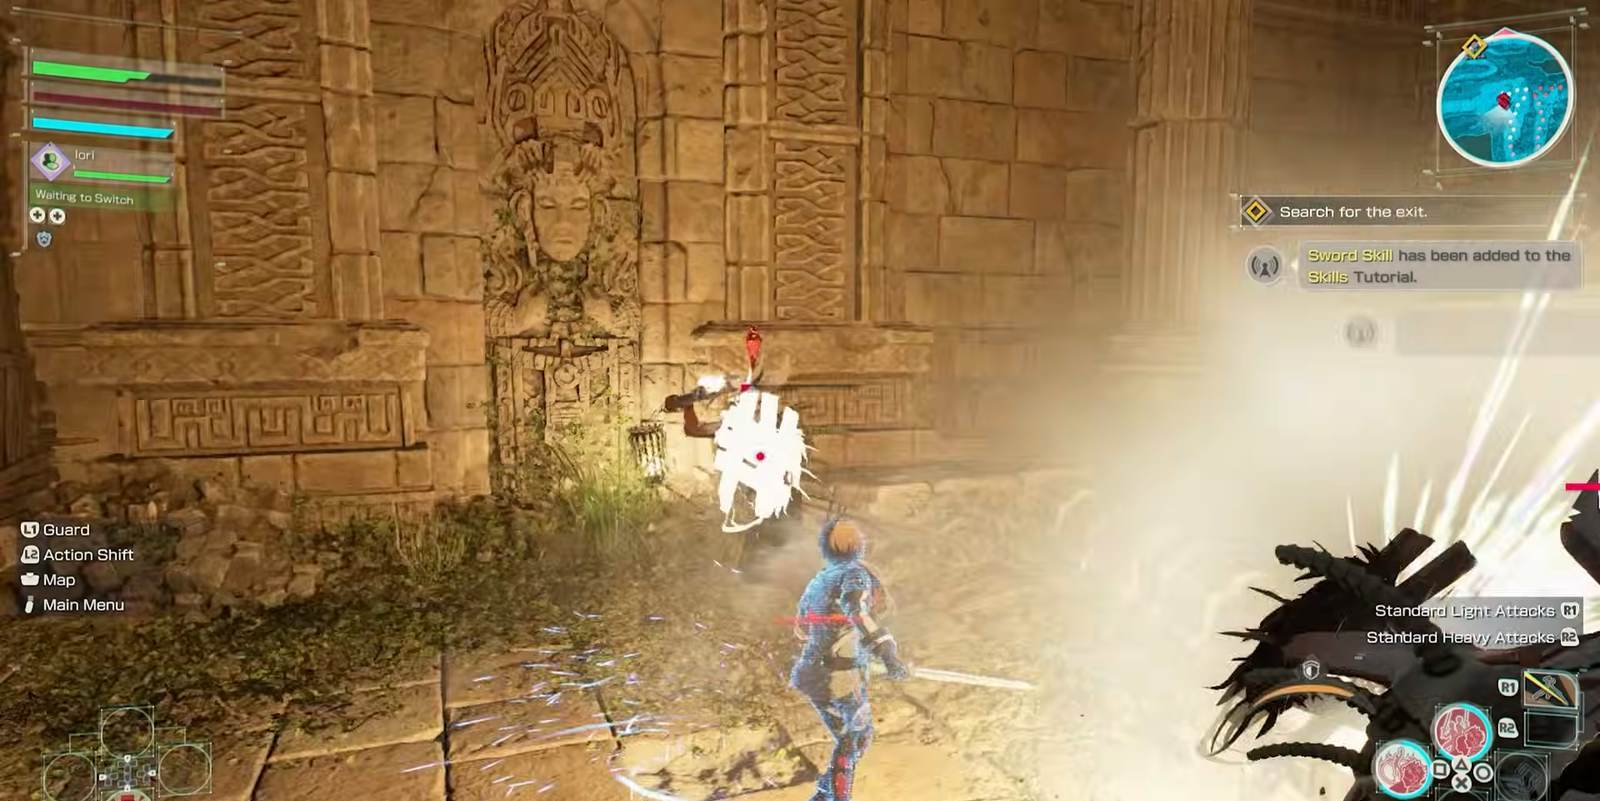
Step 3 — Meet Iori
At the first junction you meet Iori, and from here she fights alongside you for the rest of the demo. She's your only permanent party member in this build, and she's more than an escort: she holds aggro, adds damage, and enables the series' signature Switch — tag her in to cover you while your stamina refills or while you reposition. Two partner tools worth noticing as you go: Combination Skills (team-up attacks) and Support Skills (buffs and heals). Factor her into every fight; a good Switch rhythm is the difference between comfortable and frantic. Full detail lives in our partner system guide.
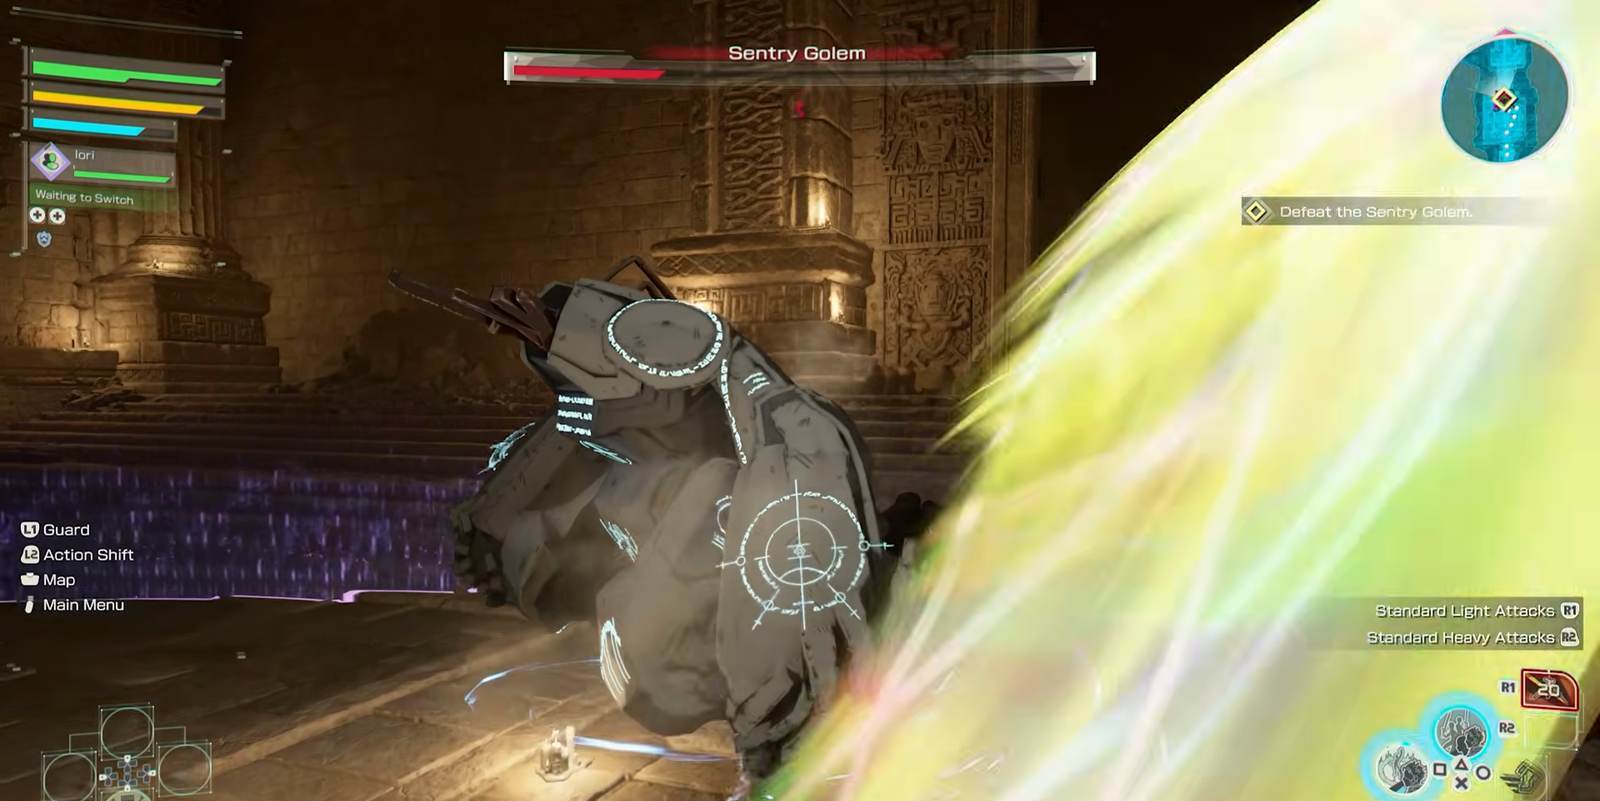
Step 4 — The Sentry Golem (first boss)
The first resting point hands you the Sentry Golem. Treat it as a rehearsal rather than a wall: this is where the demo first insists you use the defensive kit instead of out-damaging the problem. Hold your ground, read its heavy swing, block or dodge, and answer in the recovery window. If you beat the Golem by reading it, you've already learned the rhythm the final boss demands. If you brute-forced it, Illfang is about to feel much harder than it should.
Step 5 — Illfang the Kobold Lord (final boss)
The demo's finale is Illfang the Kobold Lord — the Floor 1 boss the anime made infamous. He runs three phases with a mean twist: draining a health bar isn't enough, because it regenerates unless you close the phase with a finisher (a heavy attack while in front of or beside him). Land three finishers total and he goes down. Bait his combos, respect the 360° ground sweep and the summon-spawning charged roar, and spend each opening on a single sword skill rather than a greedy combo.
He's the toughest thing in the demo and worth a page of his own — read the phase-by-phase breakdown in our Illfang the Kobold Lord boss guide before you walk through the fog. Beat him, head to the dungeon exit, and a cutscene whisks you to town.
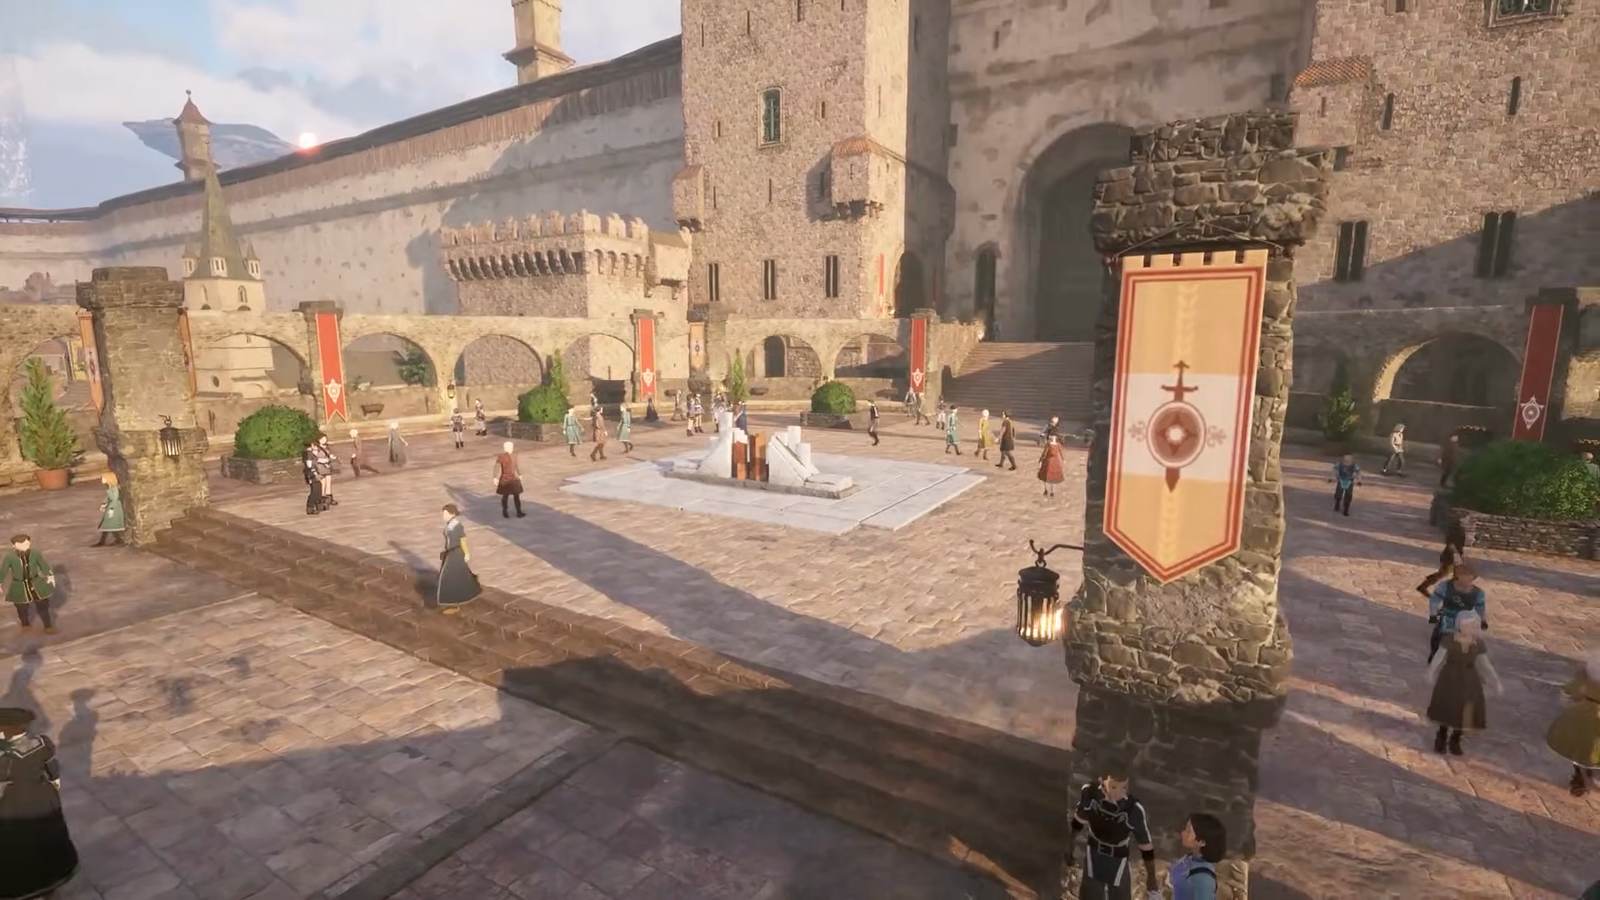
Step 6 — The Town of Beginnings
This is where the demo earns the "RPG" label. The Town of Beginnings is your hub, and three buildings matter:
| Facility | What it does | Do this |
|---|---|---|
| Inn | Manage stats and spend Growth Points | Allocate points toward your weapon's key stat; retune if your first build feels off. |
| Smithy | Improve weapons, combine EX-Mods, craft with recipes, upgrade armor | Upgrade your main weapon and slot any EX-Mods you've found before heading out. |
| Merchant | Buy and sell with Col, craft items | Stock healing consumables — you'll want a full pouch before any Ark. |
Town is also where you pick up quests, which raise your Cardinal Rank — the demo's progression currency. Clear the Main Quest and take side quests to climb it. Check the terminal, talk to NPCs, and don't rush back out the gate the second you can.
Beyond town — the field, Arks and checkpoints
Outside the walls, the demo opens into explorable field zones dotted with checkpoints (the glowing save orbs) and Arks — the arenas where boss and elite fights happen. The open areas hide named elite enemies well above the corridor fodder; the Raging Boar is an early gatekeeper that will flatten an underprepared player. Every confirmed boss, elite and common enemy type is cataloged in the enemies database. Use checkpoints liberally, and treat every Ark like the boss rooms above: stock up first, because there's no shop inside.

What carries over
Here's the part that makes the demo worth taking seriously: your save transfers to the full game after the Day 1 update. The build you tune, the weapon proficiency you grind, the Cardinal Rank you climb — it all follows you if you import correctly. The one thing it won't roll into is Death Game Mode, the permadeath track, which is a separate beast; see our Death Game Mode guide for why that matters. Before launching retail, read the demo save transfer guide so you do not waste the one-time prompt.
Make the most of your two hours
- Try more than one weapon. The demo lets you sample all six types — this is the low-stakes place to find your main. Start with the weapon guide.
- Actually visit every town building. The systems taught here (Growth Points, EX-Mods, Col) are the ones the full game expands.
- Don't skip the field. Checkpoints, elites like the Raging Boar, and hidden sights make it more than a corridor between bosses.
- Learn the parry now. Every fight from the Sentry Golem to Illfang rewards defense over greed. It's the whole game in one lesson.
FAQ
How long is the Echoes of Aincrad demo?
Does the demo save transfer to the full game?
How many bosses are in the demo?
What should I do in town before leaving?
Where to go next
Ready to go deeper? Line up your build in the weapon types guide, prep the final fight with the Illfang boss guide, or read up on the mode where every one of these fights would be your last in the Death Game Mode guide. New to the whole thing? Start with the beginner's guide.
Sources
Demo structure and boss mechanics cross-checked from the playable demo and the official guide. Gameplay frames captured from the Echoes of Aincrad demo via GameBurst's playthrough; hub still from the official demo trailer.