This is a source-bounded demo bestiary. Three enemies have readable names on in-game HP bars: the Sentry Golem, Illfang the Kobold Lord and the field elite Raging Boar. Common enemy types remain useful for strategy, so they appear under descriptive labels when the cited footage does not provide a readable name.
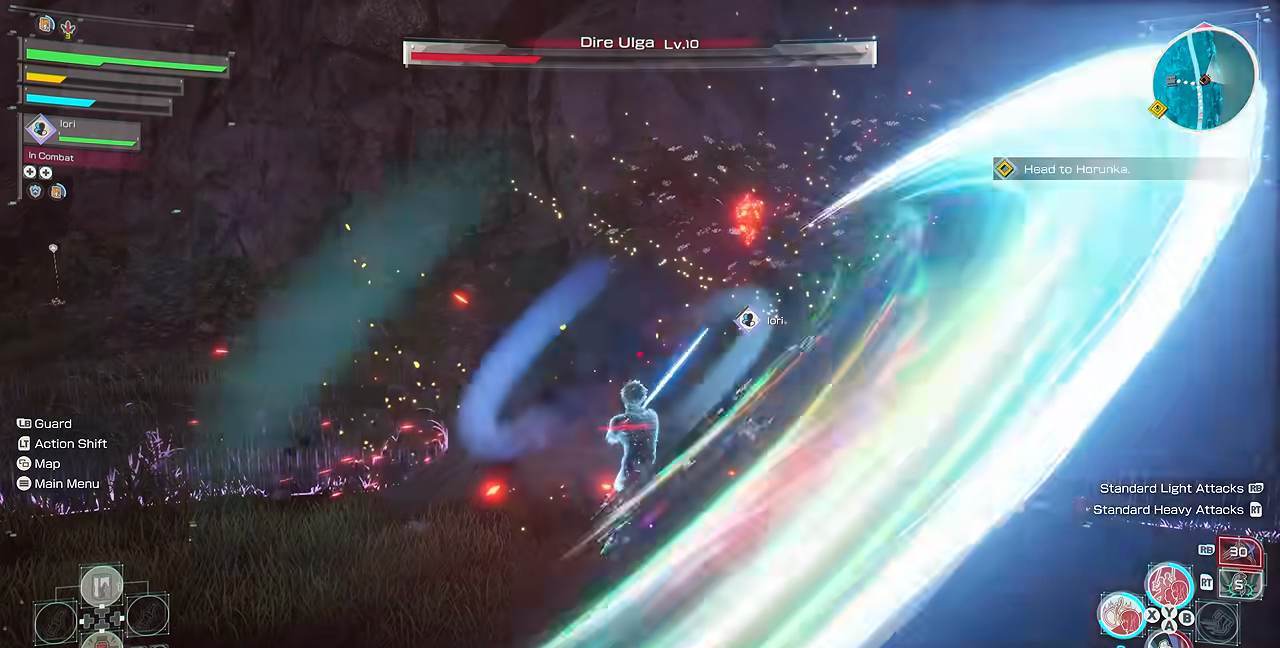
Names verified, not copied. We only publish an enemy name after checking it against the demo's own HP bar or official material. Several other sites list names for this demo — including one boar boss as "Snowcap Boar" — that don't match what the game itself displays; our own check of the in-game HP bar reads "Raging Boar Lv.10", and we've kept that name. Where we can't verify a name at all, we describe the enemy instead of guessing.
Story bosses
The two gated set-pieces on the prologue dungeon's critical path. You can't skip either, and each is a scripted difficulty step — full breakdowns in the boss database and their dedicated guides.
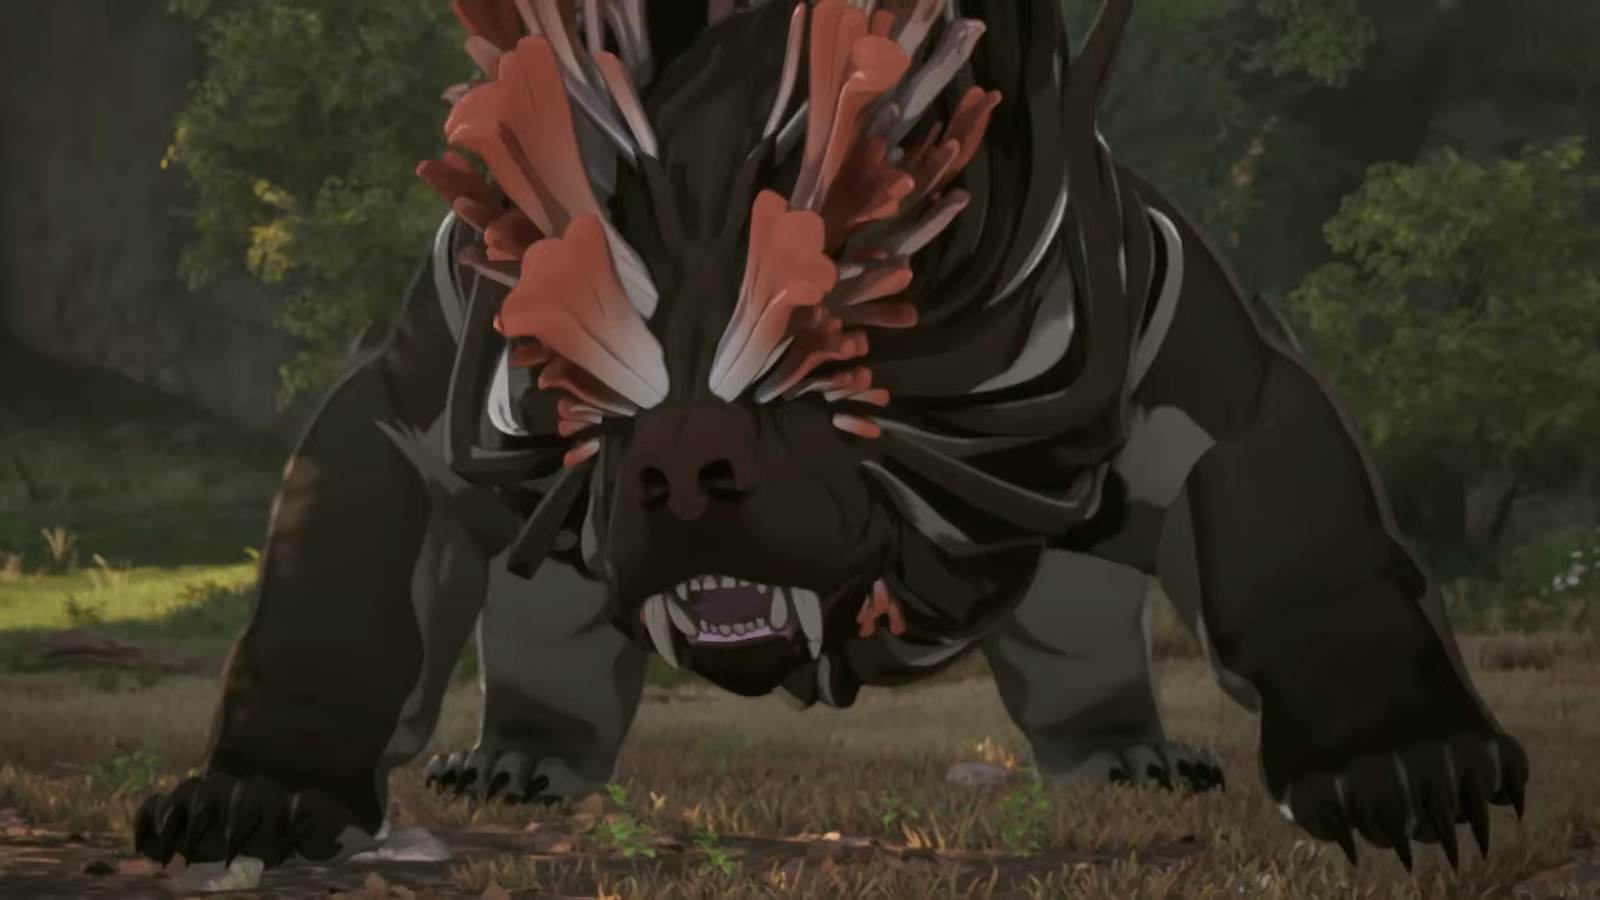
- Sentry Golem — the first demo boss. One phase, two telegraphed moves, poor tracking. The fight teaches the parry-and-dodge fundamentals everything after it assumes you know.
- Illfang the Kobold Lord — the demo's three-phase finale, and the Floor 1 boss the anime made famous. Health regenerates unless you close a phase with a finisher.
Field elites
Tougher, optional enemies that roam the open world beyond the Town of Beginnings — proof the field plays by harder rules than the guided dungeon corridor.
- Raging Boar (Lv. 10) — a charging field elite identified by its own in-game HP bar. It punishes players who wander in underprepared; this source-bounded entry describes the charge behavior visible in the cited footage without inventing a complete moveset.
Common enemies
The demo scatters weaker enemy types through the prologue dungeon and open field, giving players targets for combo practice and Growth Points. The footage supports two recurring visual types; this page describes them by appearance because the cited frames do not display readable names:
- A slime-type enemy — encountered early in the dungeon, a low-threat target good for testing a new weapon's Sword Skills or a shield's guard timing without much risk.
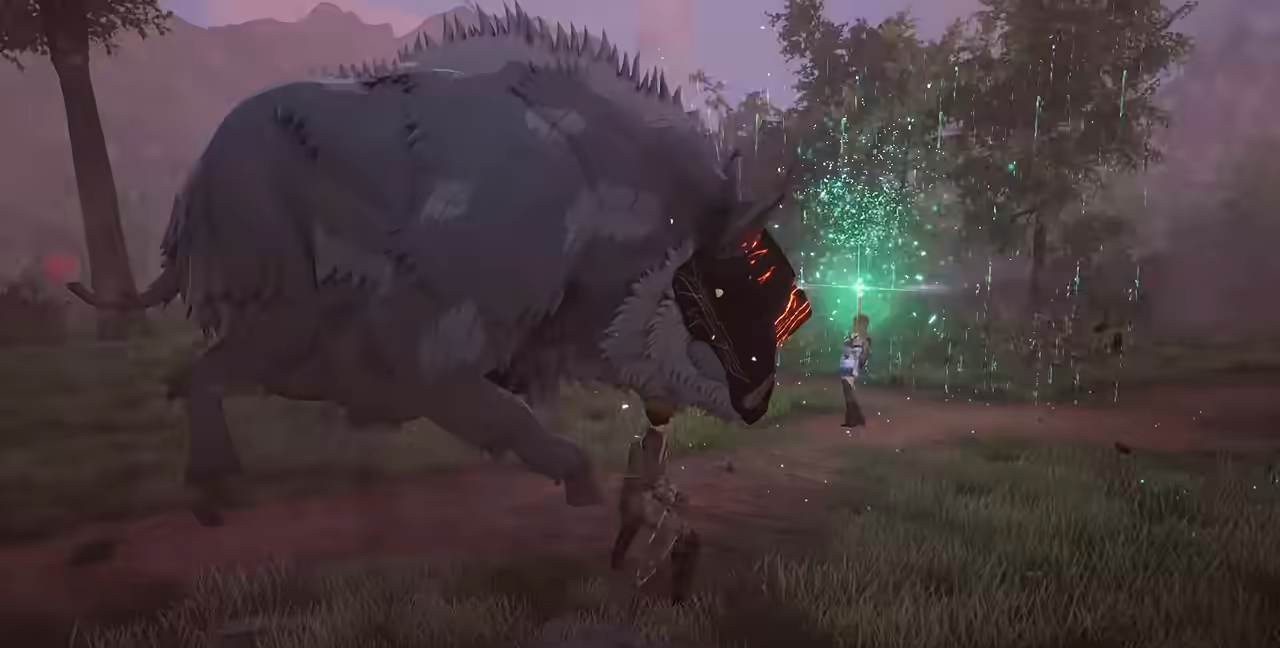
- A horned field beast — found roaming the open areas beyond town, tougher than the dungeon's fodder but well below a field elite like the Raging Boar.
Packs of these also appear together in the dungeon's corridors, which is where the demo teaches crowd-handling — see Free Mode for how to clear a group efficiently with your partner. That's also the ideal place to bank early Growth Points: fodder dies fast, so clearing a pack instead of running past it is close to free progress.
Your partner's role shifts with the tier of enemy you're facing. Against fodder, Free Mode lets you and your partner split a pack and clear it quickly with minimal risk. Against a field elite or a story boss, switch to Switch Mode so your partner can hold aggro while your Stamina recovers — treating every enemy the same way, regardless of tier, is a common way players waste their partner's usefulness.
How to fight what you meet
Even without a name for every enemy, the demo's fundamentals hold across all of them. Fodder types (the slime, the horned beast, and packs of unnamed dungeon enemies) exist to teach your combos and your Sword Skill loadout cheaply — use them to test a new weapon's rhythm before a boss punishes a mistake. Field elites like the Raging Boar are the demo's way of telling you the open world plays by tougher rules than the guided dungeon: expect to need the same reads — dodge the committed charges, parry the telegraphed ones — but with less room for error than fodder gives you. Story bosses compress everything into a scripted, three-phase test. The pattern across all three tiers is consistent: read before you swing, and let the enemy's tell — not its name — tell you whether to dodge or guard.
Verifying names: our method
A named entry must meet one of two standards: the name appears on the enemy's in-game HP bar, or Bandai Namco states it in official material. Repetition across fan sites is not enough. The demo provides a useful example: some walkthroughs label the boar-type field boss differently, while its visible HP bar reads Raging Boar Lv.10. Descriptive labels preserve the tactical information without spreading a name the source does not show.
Why this list is intentionally limited
A source-bounded demo bestiary should be exactly as long as its evidence supports. Other sites use names such as "Snowcap Boar," "Dire Stife Wolf" and "Wrathful Shreman," but those labels are absent from the official material and readable HP bars used for this page; the boar label also conflicts with the visible Raging Boar name. This database favors a shorter accurate reference over a longer speculative list.
FAQ
How many enemy types are in the Echoes of Aincrad demo?
What is the difference between a story boss and a field elite?
Are there weaker enemies besides the bosses?
Why are some enemies labeled by description?
What qualifies as a named database entry
A named entry requires an in-game HP bar, readable menu or official Bandai Namco source. Location and attack-pattern claims require visible gameplay evidence, while drop tables, elemental weaknesses and Cardinal-Rank variants require their own direct evidence. This rule matches the standards used by the boss database and weapons database and explains why descriptive enemy types are kept separate from named entries.
Where to go next
Full boss strategy lives in the boss database and the individual Sentry Golem and Illfang guides. For handling groups of common enemies, see Switch, Combination & Support Skills.
Sources
Boss names verified against in-game HP bars during the playable demo. Field elite and common enemy descriptions from demo footage where no confirmed name exists.
- allthings.how — How to clear the prologue dungeon and bosses
- Sportskeeda — Prologue and major boss fights walkthrough
Gameplay frames captured from the Echoes of Aincrad demo trailer and player-recorded footage; player-captured footage credited in each caption.