Short version: your partner gives you three fight-shaping tools: the Switch to trade aggro and recover, Support Skills for heals, buffs and assists, and Combination Skills for team-up burst. Use Switch Mode against one dangerous enemy and Free Mode against groups. Partner choice should follow the role your build needs rather than an unsupported numerical tier list.
Guide scope. Day 1 update Ver.1.0.3 adjusted Combination and Support Skills, so this page teaches stable concepts—aggro control, timing, action-wheel setup and role matching—without turning patch-sensitive values into a ranking.
The confirmed partner roster
Bandai Namco's official character pages list these partners today:
| Partner | Published weapon | How this guide uses the entry |
|---|---|---|
| Iori | Sword & Shield | Worked example for Switch timing and duo fundamentals. |
| Wyzeman | Mace & Shield | Defensive weapon profile; no numerical kit inferred. |
| Zash | Two-handed Sword | Heavy-pressure weapon profile. |
| Musoh | — | Official partner status; no weapon role assigned from absent source data. |
| Argo | Dagger | Fast, close-range weapon profile. |
| Kirito | Sword | Sword profile only; franchise dual-wielding is not assumed. |
| Asuna | Rapier | Precision and reach weapon profile. |
| Agil | Two-handed Axe | Heavy-impact weapon profile. |
| Klein | Sword | Balanced Sword profile. |
| Lisbeth | Mace | Blunt, shield-compatible weapon profile. |
| Silica | Dagger | Dagger profile; Pina remains lore context in this guide. |
This page is the execution layer. For the roster and build-pairing logic, use the partner system guide; for structured data, use the character database.
The Switch: your most important partner tool
The Switch is what makes the partner a live part of your kit rather than a second health bar wandering around. Tag your partner in and they take over the enemy's attention while you reposition, recover Stamina, or line up a skill; tag back to punish. Against a single big boss, a good Switch rhythm is the difference between a controlled fight and a frantic one.
The mistake most players make is treating Switch as an emergency button. It is a tempo tool. Switch out before your Stamina collapses, not after. If your partner only enters when you are already panicking, you are using the system late.
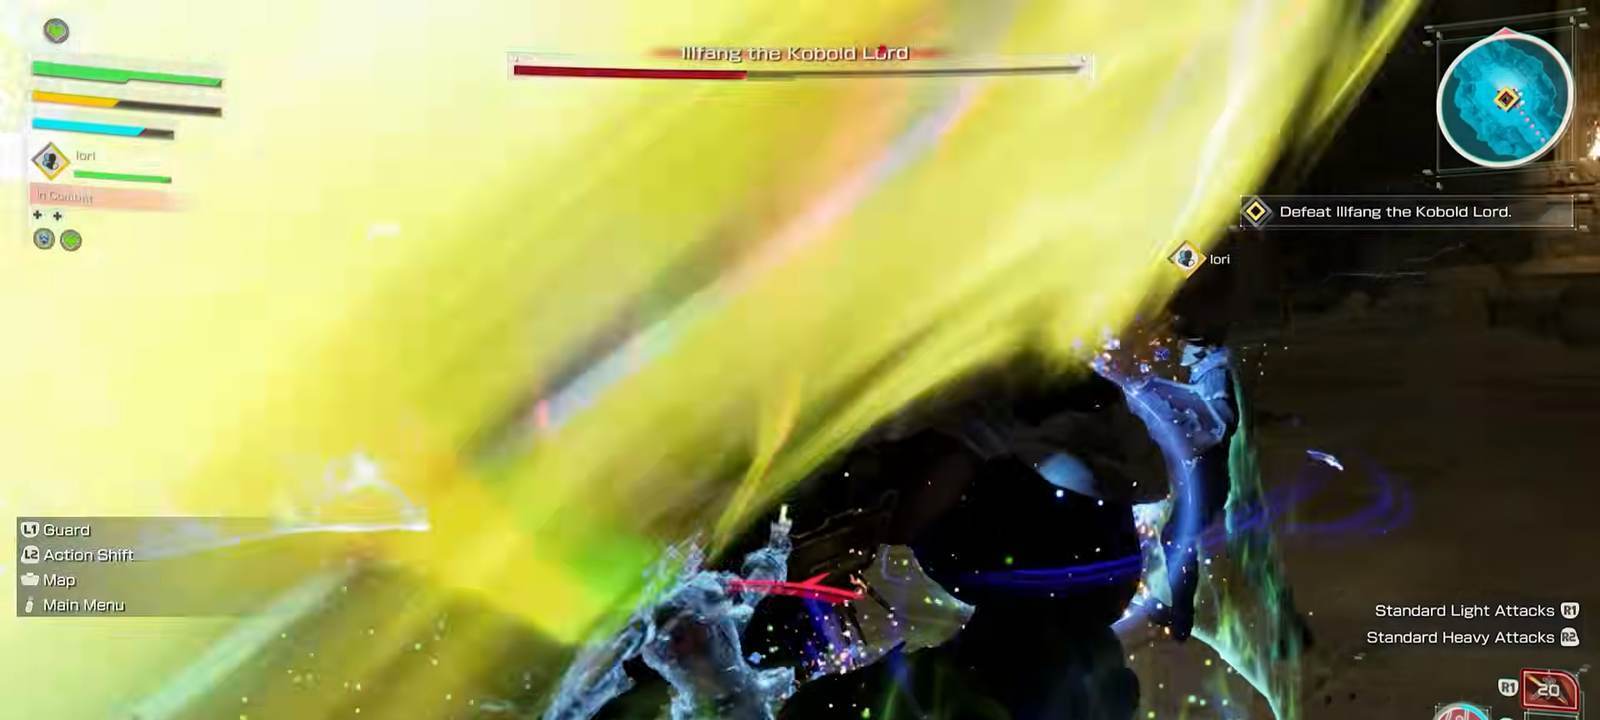
Switch Mode vs Free Mode
- Switch Mode splits one tough enemy's attention between you and your partner. This is your boss and elite mode.
- Free Mode is for multiple enemies, where your partner can peel a second target or help delete one dangerous enemy quickly.
The quick read: one scary enemy means Switch Mode; several weaker enemies means Free Mode. Getting this backwards is a quiet way to make good builds feel bad.
Combination Skills: the team-up payoff
Combination Skills are powerful joint attacks performed with your partner after you have built enough fight momentum. Treat them like a burst resource: do not spend one into a bad angle just because the button is glowing. Save it for a stagger, phase transition, long recovery animation or a moment where the boss cannot simply move out of the hit.
Ver.1.0.3 adjusted Combination Skills, which is why raw demo damage impressions are a poor ranking tool. The useful question is not “which partner has the biggest number?” but “which partner creates the opening this build needs?”

Support Skills: choose the role your build needs
Support Skills create the tactical differences between partner roles. A heal-heavy kit changes how greedy a fragile weapon can be. A buff kit can make a patient Rapier build hit above its apparent weight. A control kit can make Two-handed Axe or Two-handed Sword safer by buying the recovery window those weapons lack.
The official material establishes the system and roster but does not provide one comparable numerical table for every partner. This guide therefore uses support roles—healing, buffs, control and opening creation—as the decision framework instead of manufacturing a definitive tier list.

Set up your action wheel before you need it
Both Support and Combination Skills fire from the action wheel. Do the boring setup before the fight starts:
- Put your most urgent defensive support in the fastest slot.
- Keep your Combination Skill somewhere you can hit without searching.
- Rebuild the wheel when you swap partners; do not assume the same muscle memory fits every kit.
- Before a boss Ark, check the wheel the same way you check healing items.
Putting it together in a boss fight
- Open in Switch Mode so the boss's attention is divided early.
- Switch proactively before your Stamina is low.
- Use Support Skills early enough to matter, especially before a phase change.
- Hold Combination Skills for stagger, recovery or phase windows.
- Reset the rhythm instead of forcing damage after a messy exchange.
Do this well and even the three-phase Illfang fight settles into something readable. In Death Game Mode, using your partner proactively rather than as a panic button is one of the largest survival upgrades available.
Partner equipment still matters
Your partner's skills do not exist in a vacuum. Partner equipment is customizable, so partner power scales with your investment. An under-geared partner is a weak Switch target and a feeble burst partner. Budget for two characters at the Smithy, especially if your weapon relies on the partner to cover recovery windows.
FAQ
What is Switch Mode in Echoes of Aincrad?
What is the difference between Switch Mode and Free Mode?
Do all partners have the same Combination and Support Skills?
Which partners are confirmed?
Where to go next
Choose which partner to bring in the partner system guide, compare the official roster in the character database, and manage the Stamina your Switch rhythm protects in the Stamina & SP guide.
Sources
- Bandai Namco — official character roster
- Bandai Namco — Gameplay Mechanics Explained
- Bandai Namco — Starter Guide
- Bandai Namco — Day 1 Patch Update File Ver.1.0.3
Gameplay frames captured from the Echoes of Aincrad demo; player-captured footage credited in each caption.