The short version: stay at mid-range, bait a combo, dodge or block the big move, then answer with a single sword skill. Do that patiently through three phases, and — this is the part that trips people up — end each phase with a finisher, or his health simply grows back. Land three finishers and the death game's first boss goes down.
Based on the demo build. Everything here is drawn from the playable Echoes of Aincrad demo and cross-checked against multiple player walkthroughs (sources at the bottom). Numbers and names may shift for the July 10 launch; we'll retest on day one.
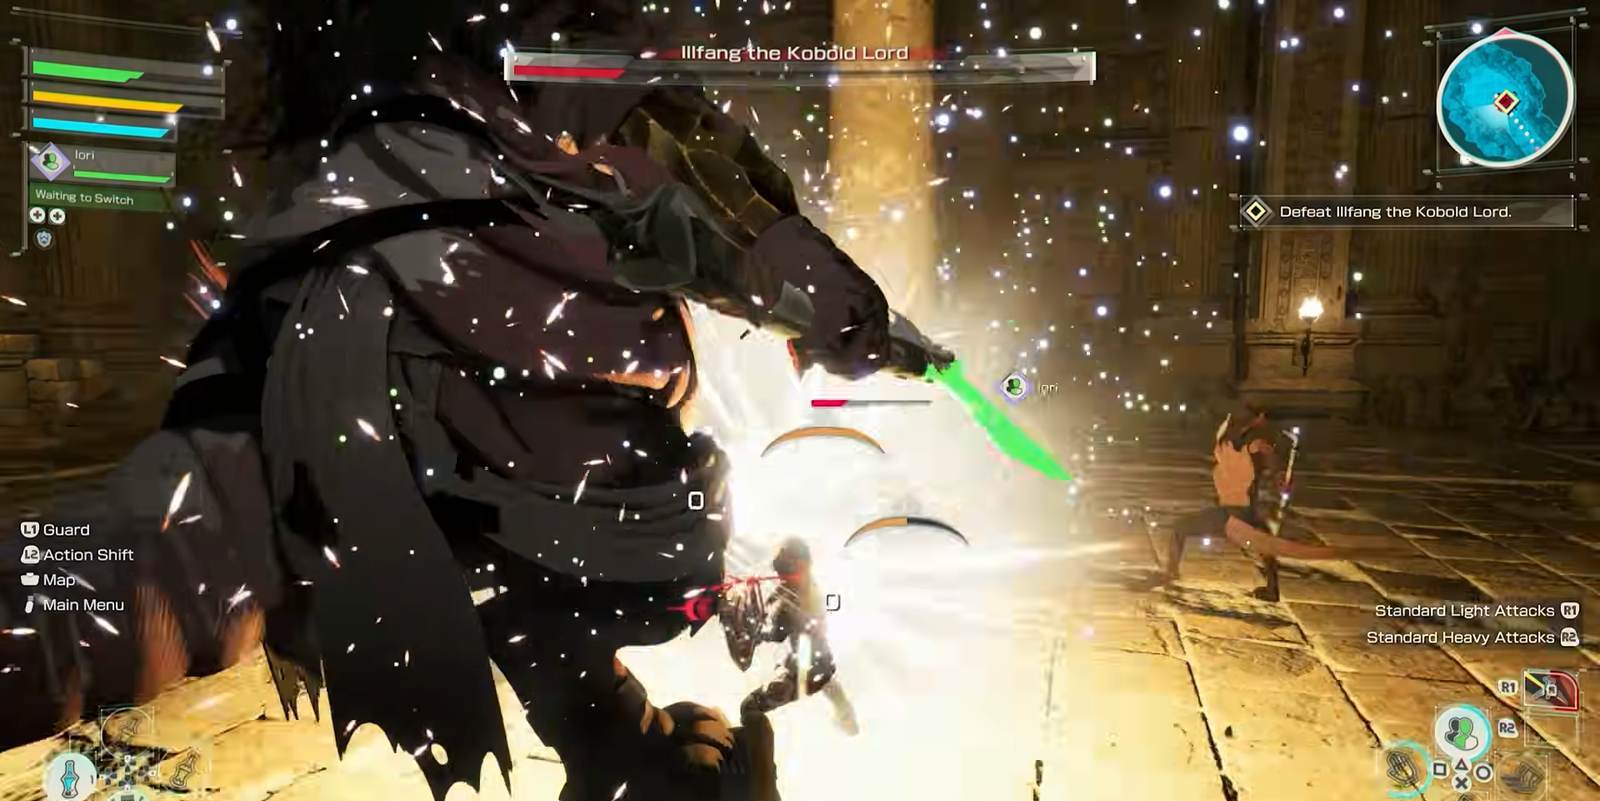
Who you're fighting, and why it matters
Illfang the Kobold Lord is the final boss of the demo — the second and tougher of the two set-piece fights, after the Sentry Golem earlier in the prologue dungeon. Fans of the anime will recognise the name: Illfang is the Floor 1 boss, the one whose surprise move turned the series' first raid into a disaster. Echoes of Aincrad leans on that history, and the demo version is deliberately built to punish the exact habit the earlier rooms let you get away with — greedy, uninterrupted combos.
That's the whole design of this fight. Every enemy before Illfang tolerates a little sloppiness. Illfang does not. He's honest: he hits you for the thing the tutorial forgave.
First, the Sentry Golem (your warm-up)
Illfang isn't the demo's only boss — he's the second. Earlier in the prologue dungeon you fight the Sentry Golem, and it's worth treating that fight as a rehearsal rather than a speed bump. The Golem is where the demo first insists you actually use the defensive kit: hold your ground, block or dodge its heavy swing, and answer in the recovery. If you brute-forced the Golem by out-damaging it, Illfang will feel like a brick wall. If you beat the Golem by reading it, you've already learned Illfang's rhythm. Our dedicated Sentry Golem guide breaks the fight down — use it as the place to drill parry timing where the punishment for a mistake is smaller.
The three phases (and the one rule that governs them)
Illfang has three phases, and here's the good news — his moveset barely changes between them. Learn his two big attacks once and you've learned the whole fight. The only structural shift is in the final phase, where he stops calling in fodder enemies and it becomes a clean duel.
The rule that catches everyone the first time:
Draining his bar does nothing on its own. Once you empty a health bar, it regenerates — unless you cut the phase short with a finisher. To land one, hit him with a heavy attack while standing in front of or beside him during the opening a drained bar creates. Do it three times, once per phase, and the fight ends. Miss the window and you're grinding the same bar down twice.
So the real objective isn't "deal damage." It's "create the finisher window three times." Everything below is in service of that.
His two attacks, and how to answer each
Illfang telegraphs two attacks worth respecting. Read them and the fight slows down to your pace.
| Attack | What you see | Your answer |
|---|---|---|
| 360° ground sweep | He winds up and swings low all the way around himself | Create distance, or dodge through it before it lands. Do not try to tank it at close range. |
| Charged roar | He rears back and charges up a bellow | Block it — you and Iori both need to guard — then deal with the fodder it summons before re-engaging. |
Notice what's missing from that table: a fast, unreactable move. He doesn't have one. Illfang's danger is entirely in punishing your impatience, which means the counter to the whole boss is temperamental, not mechanical. Bait a combo, respect the sweep and the roar, and take your single clean hit. Then reset.
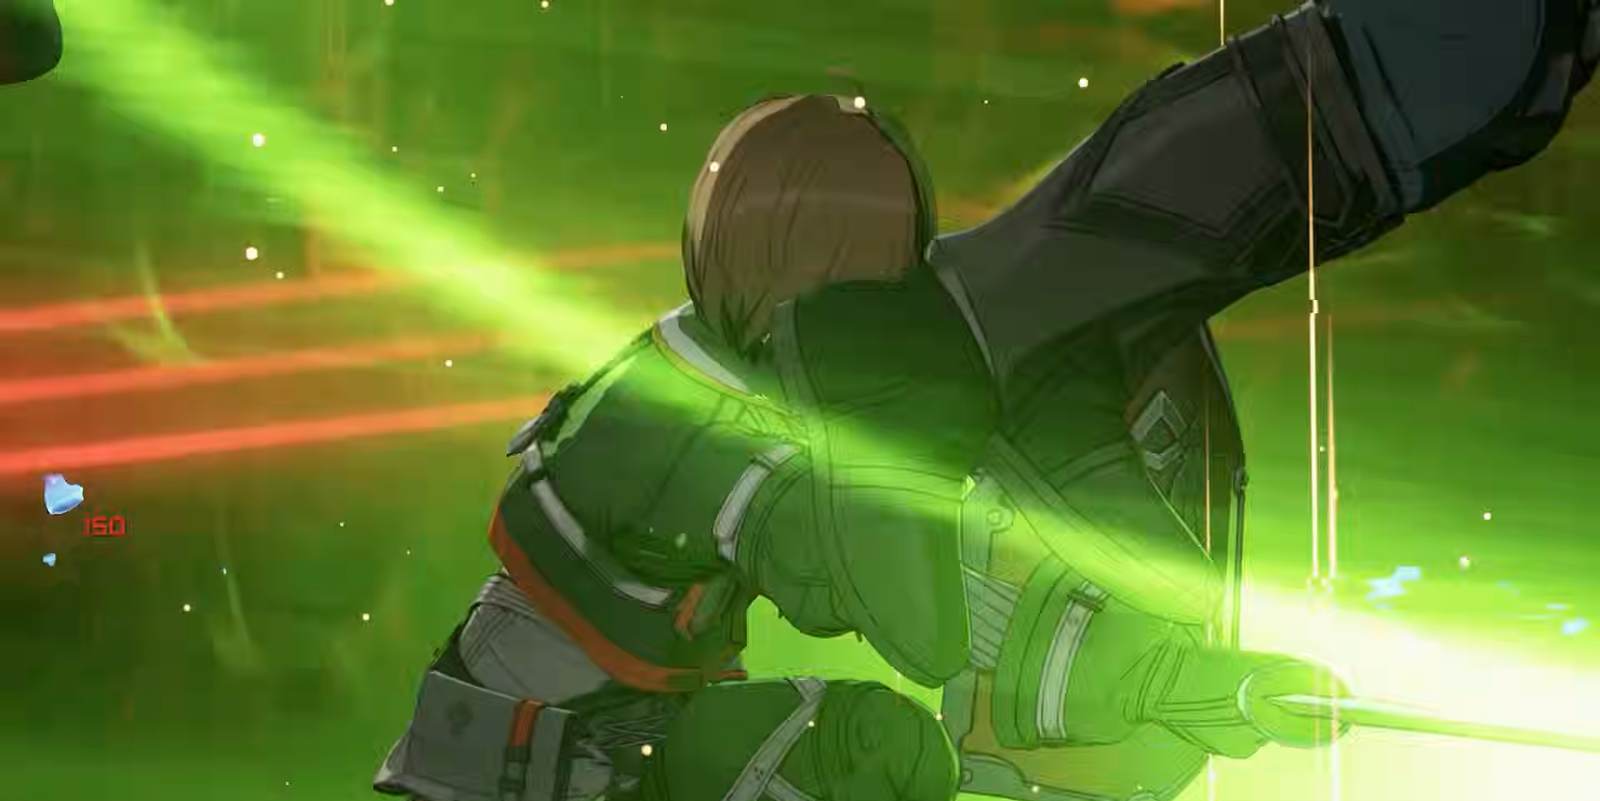
Parry, dodge, and the Reversal Slash
Your toolkit against Illfang is the same three verbs that carry the entire demo: parry, dodge, and Reversal Slash. Parrying his combo finisher is the cleanest way to open him up — a well-timed guard turns his aggression into your punish window. Dodging is your bail-out for the ground sweep when you're caught too close. And the Reversal Slash is your counterattack: it converts a successful defensive read straight into damage, which is exactly the currency you need to drain a bar and set up a finisher.
If you're new to the system, the priority order is simple: survive first, punish second, be greedy never. One whiffed combo into his counter can end a run that was otherwise going fine.
Keep half an eye on your own stamina, too. Sword skills and dodges both draw from your SP/stamina pool, and Illfang is long enough that running the gauge dry mid-phase leaves you unable to answer the ground sweep at the worst possible moment. The mid-range dance isn't just about baiting him — it's the breathing room your stamina needs to refill between punishes. If you're low, that's exactly when to Switch to Iori and let the meter come back.
Iori and the Switch
You don't fight Illfang alone. Iori — the partner you pick up at the first junction of the demo — fights alongside you for the rest of the run, and she's more than decoration. She holds aggro, chips damage, and enables the series' signature Switch: tag her in to cover you while your stamina recovers or while you reposition out of a sweep.
Factor her into your spacing. When Illfang turns to face Iori, that's your cue to slip to his side and set up a finisher on the drained bar. A good Switch rhythm is the difference between a tense fight and a comfortable one.
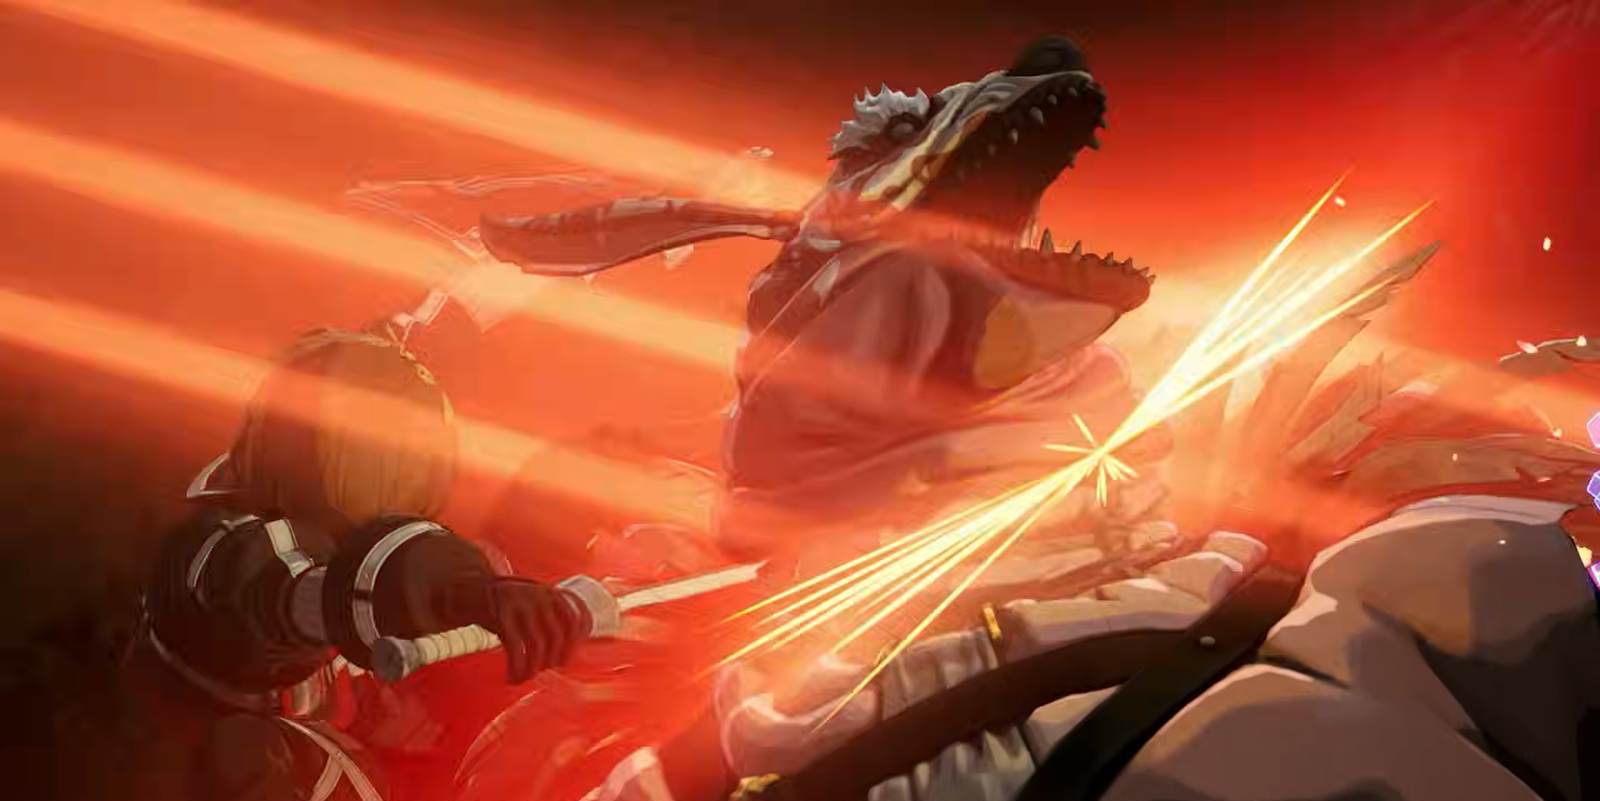
Prep before the fog
Two things decide the fight before it starts.
- Stock healing. There's no shop inside the arena. Walk in with every recovery item you can carry — you will need the buffer for the phase where you misread a sweep.
- Bring a weapon you can punish with. Any of the six weapon types can win, but the parry-into-skill loop is easiest with a fast, reliable answer: one-handed sword, rapier or dagger. Two-handers hit like a truck and stagger well, but their recovery leaves less room to react to the ground sweep — pick them only if you're confident reading his tells.
Common ways to die (and how not to)
- Draining a bar and walking away. The most common first-attempt death isn't death at all — it's confusion, as his health climbs back up. Always convert a drained bar into a finisher immediately.
- Getting greedy in the opening. The window is for one skill, not a combo. Take the guaranteed hit and disengage.
- Ignoring the summons. The charged roar's fodder will chip you to death while you're focused on the boss. Clear them, then re-engage — Iori can help hold them off.
- Fighting at melee range full-time. The 360° sweep exists specifically to punish players who never leave his hitbox. Live at mid-range; step in for punishes only.
FAQ
How many phases does Illfang the Kobold Lord have?
Why does Illfang keep healing?
What weapon is best against Illfang in the demo?
Is there a shop before the boss?
Where to go next
Illfang is the wall the demo builds you up to—clear him and you have demonstrated the defensive reads, Stamina discipline and finisher timing used throughout the retail combat loop. From here, line up your build with the weapon types guide, sanity-check your first hours with the beginner's guide, compare the demo encounters in the enemies database, or prepare for permanent boss losses in our Death Game Mode guide.
Sources
Fight mechanics cross-checked from the playable demo and multiple independent walkthroughs. Gameplay frames captured from the Echoes of Aincrad demo via GameBurst's playthrough.