Short version: you have three defensive tools — dodge, guard/parry and the Reversal Slash counter. Dodge the big committed slams, parry the telegraphed sweeps and strings, and use the Reversal Slash when you can read a strike coming. Every one costs Stamina, so defense is about picking the right answer, not spamming one. This is the skill that carries you through both demo bosses; the combat overview sets the wider context.
Evidence basis. Defensive mechanics are drawn from Bandai Namco’s guides and the playable demo. Timing advice is presented through visible attack cues and practical positioning rather than undocumented frame counts.
Why defense wins fights here
The demo's bosses don't kill you with fast, unreactable moves — they kill you when you over-commit and can't defend the counter. That's the whole design. Damage in Echoes of Aincrad flows to players who attack when they should be defending, not to players who are too slow. So the highest-value skill isn't a faster combo; it's knowing which defensive tool answers which attack, and having the Stamina to use it. Get that right and even the three-phase Illfang fight becomes a patient, readable rhythm.
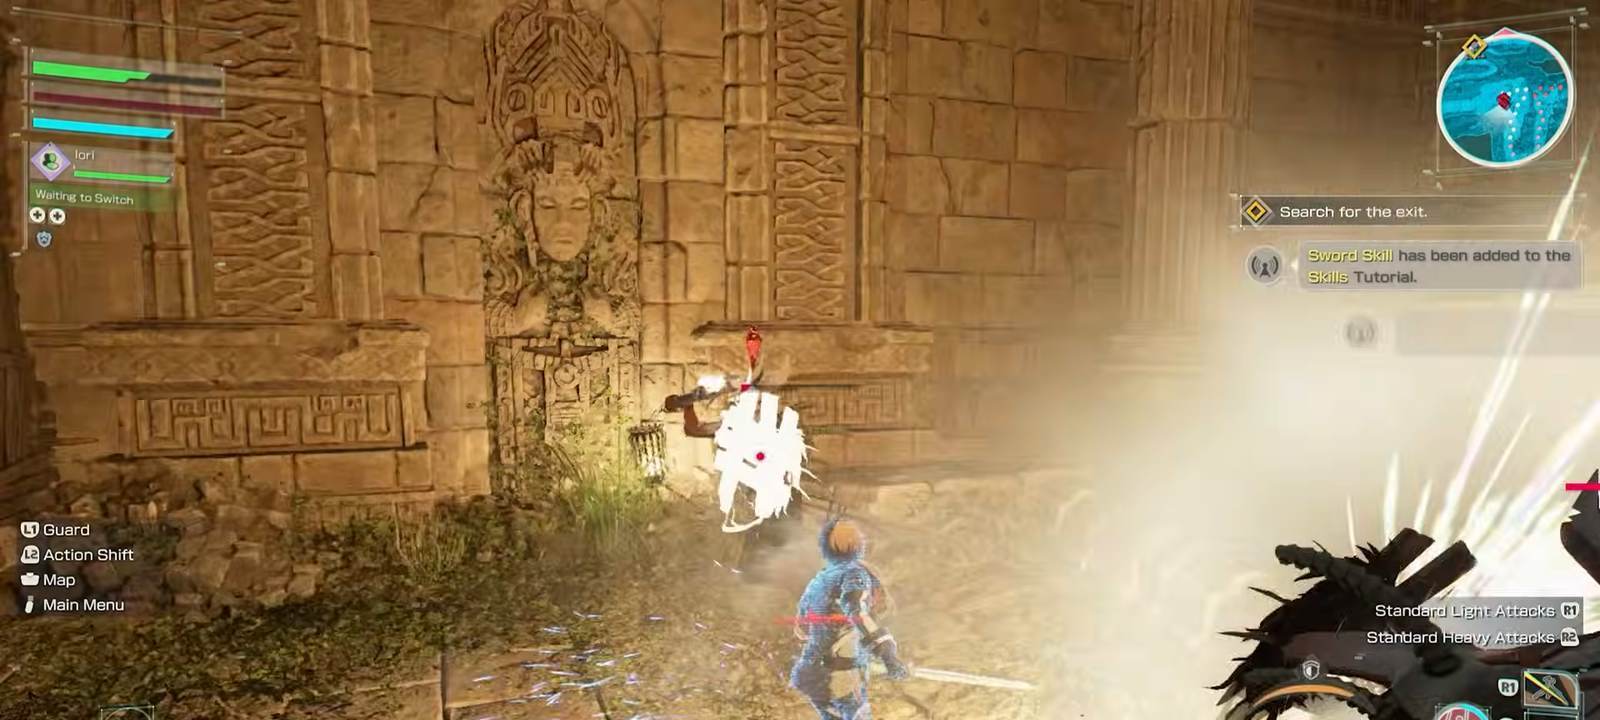
Dodge: the answer to big commitments
The dodge is your all-purpose escape from heavy, committed attacks — the overhead slams and lunges that feel unblockable. You roll or sidestep through the hit, ideally passing through the active frames so the attack whiffs. It spends Stamina, which is the built-in limiter: you cannot dodge on reflex forever, so read the tell and dodge on the wind-up, not in a panic after.
One weapon-specific wrinkle matters a lot: the two-handed sword's dodge is a longer roll rather than a snappy sidestep. That's great for creating distance from a boss, but worse for tight repositioning around one — big-weapon players should dodge earlier to account for the longer animation. Every other weapon gets a more responsive evade. Whichever you wield, the golden rule holds: dodge the heavy, committed swings, and keep a sliver of Stamina in reserve so the dodge is always available.
Guard & parry: the answer to sweeps and strings
Against telegraphed sweeps and multi-hit combo strings, guarding is often the better answer than a dodge — you hold position and open a punish window instead of rolling away from it. Shields are available to the one-handed sword, rapier and mace; those builds get a dedicated defensive layer that the two-handers and dagger trade away.
The key distinction is between a panic block and a timed parry. Holding guard soaks a hit but still drains Stamina and gives you nothing back. A well-timed parry — meeting the strike at the right moment — opens the enemy up for a counter, converting defense into offense. It's the difference between surviving a sweep and profiting from it. If you're playing a shield build, learning to parry rather than turtle is the single biggest upgrade to your defense.
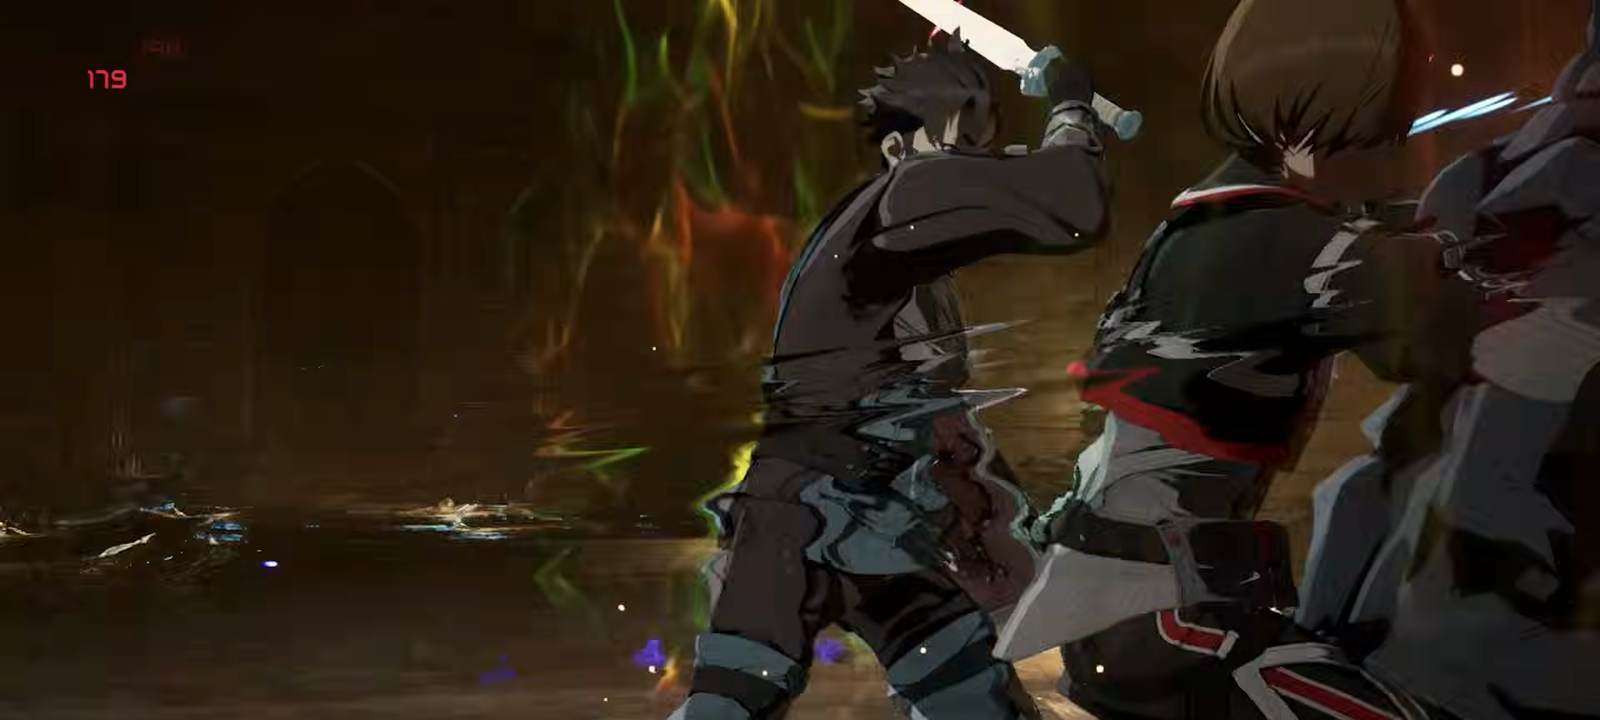
The Reversal Slash: defense that hits back
The Reversal Slash is the game's counterattack technique — you answer an incoming strike with an immediate riposte. Where a dodge trades your turn for safety and a parry buys a punish window, the Reversal Slash is the punish: read the attack, and instead of getting out of the way, meet it with a counter that turns the exchange in your favor.
It's the clearest marker of a player who has graduated from surviving to controlling. The requirement is reading the telegraph early enough to commit to the counter rather than the flinch — which is exactly why the demo's slow, honest bosses are the perfect place to practice it. Land a Reversal Slash on the Sentry Golem's telegraphed sweep a few times and the timing starts to feel natural. Against faster fights later, that same read is what keeps you on the front foot.
The decision table
Boiled down, defense is one quick read repeated all fight:
| Incoming attack | Best answer | Why |
|---|---|---|
| Heavy overhead slam / lunge | Dodge (roll through) | Too committed to block safely; rolling passes through it and repositions you. |
| Telegraphed wide sweep | Parry / Reversal Slash | Readable wind-up — a timed answer opens a punish window instead of just escaping. |
| Multi-hit combo string | Guard, then punish the end | Blocking holds position; the gap after the last hit is your opening. |
| Fast single poke | Reversal Slash (if read) or step back | Counter it for free damage, or give ground if you're not sure. |
The through-line: match the tool to the attack. Blocking a heavy you should have dodged, or rolling a poke you could have countered, is where avoidable chip damage comes from — and in Death Game Mode, avoidable chip damage is how good runs quietly die.
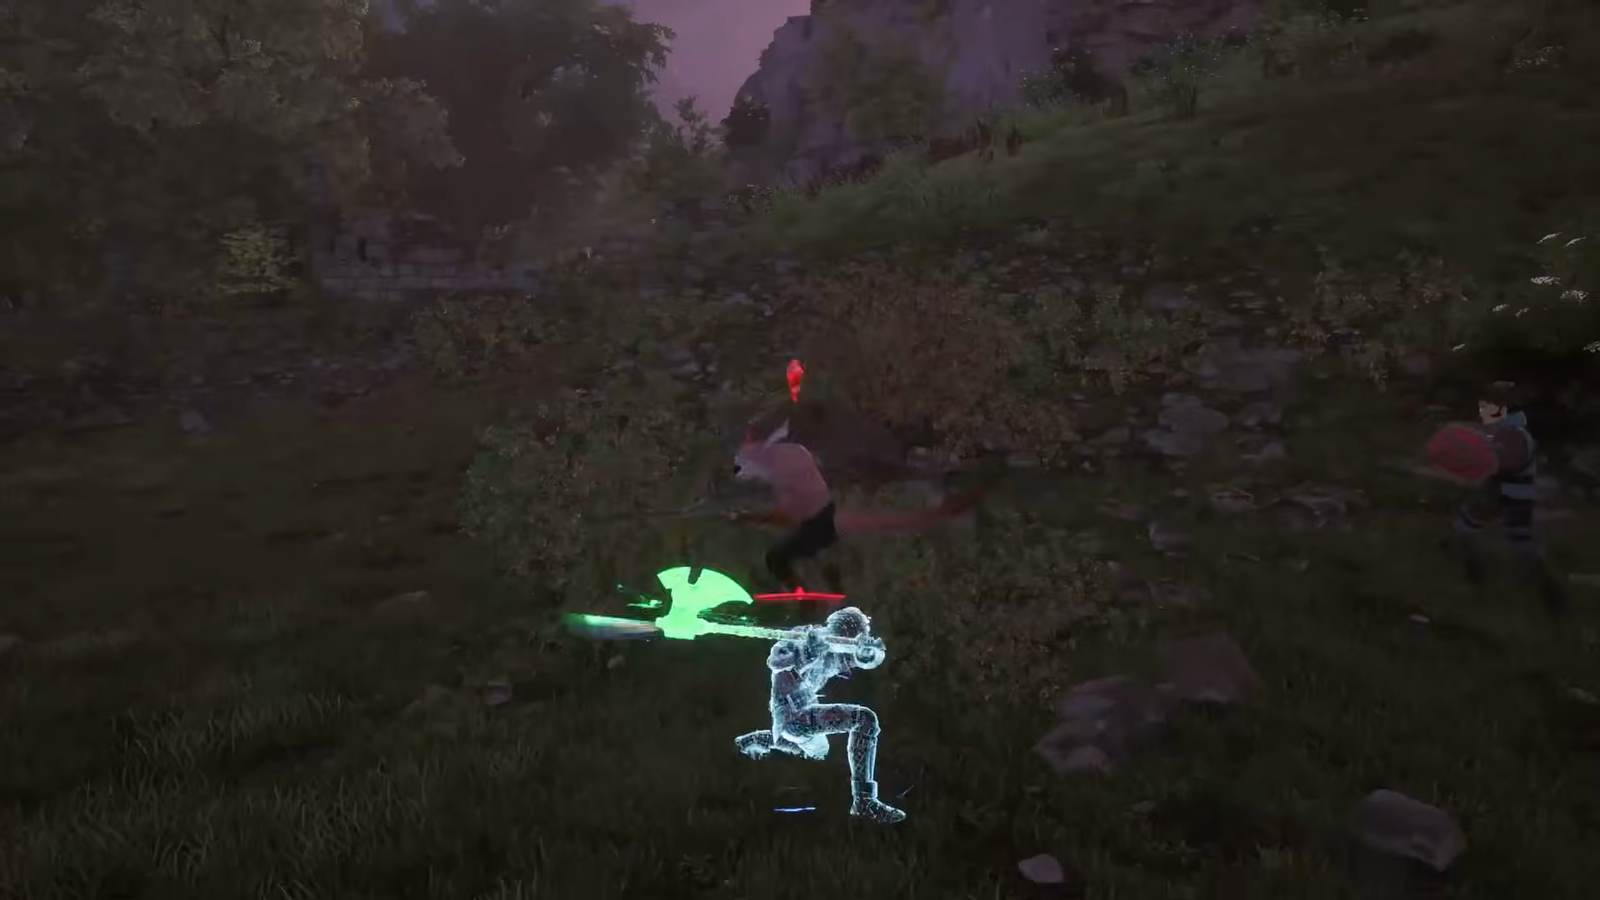
Applying it: the demo's two bosses
The demo is deliberately built to teach these reads in order, which is why it's the best possible practice ground. The Sentry Golem is the defensive tutorial: it's slow and honest, with two clearly telegraphed moves — an overhead slam you roll through and a ground sweep you parry (or answer with a Reversal Slash), then punish. It exists specifically to make you practice picking the right tool before the real test. That real test is Illfang, the three-phase finale, who takes the same fundamentals and speeds them up across three health bars. Nothing Illfang does is new — it's the Golem's lessons under pressure, which is exactly why players who brute-forced the Golem hit a wall and players who learned its reads breeze through. If a fight ever feels unfair, the cause is almost always the same: attacking when you should have been defending.
One note on invincibility: a dodge works by moving you through or away from an attack, not by granting long invulnerability, so dodge on the tell, not after impact. A late dodge is just a slower way of getting hit. Reading the wind-up early is the whole skill — and again, the Golem's generous telegraphs are where you build that timing cheaply.
Building for defense
Two build choices reinforce good defensive play. Endurance widens your Stamina pool, so you can afford more dodges and guards before hitting empty — the safest stat to over-invest in while you're still learning the reads. Vitality raises HP, your margin for the mistakes that slip through. And a shield-compatible weapon (sword, rapier or mace) simply gives you more defensive options than a two-hander or dagger. None of this replaces the reads — but it widens the error bars while you learn them. Set your stats in the character creation guide.
Shields reward timing, not turtling
If you run a shield-compatible weapon — the sword, rapier or mace — it's tempting to treat the shield as a hold-to-block wall. It isn't, and misunderstanding that gets shield players hurt. Guarding drains Stamina for as long as you hold it, and a sustained multi-hit combo can chew straight through a blocking bar, leaving you staggered with nothing left to dodge the finisher. The shield's real value is the timed parry, not the panic hold: meeting a strike at the right instant opens a punish window and costs far less than eating the whole string on your guard. There's an offensive dimension too — a parry that opens the enemy is the ideal moment to spend a Sword Skill or a partner Combination Skill, converting a clean defensive read into your biggest damage of the exchange. So the mental model for a shield isn't "a wall I hide behind" but "a tool that turns good timing into openings." The players who get the most out of shields are, counter-intuitively, the ones who hold block the least.
FAQ
Should you dodge or block in Echoes of Aincrad?
What is the Reversal Slash?
Which weapons can use a shield?
Does dodging cost Stamina?
Where to go next
Manage the Stamina all three tools spend in the Stamina & SP guide, then put your defense to the test against the Sentry Golem — the demo's built-in parry classroom.
Sources
Gameplay frames captured from the Echoes of Aincrad demo; player-captured footage credited in each caption.